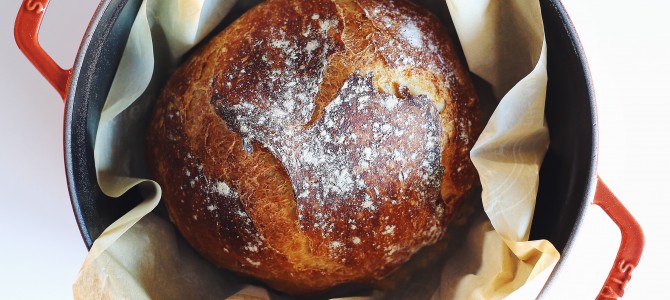
Easy No-Knead Artisan Bread
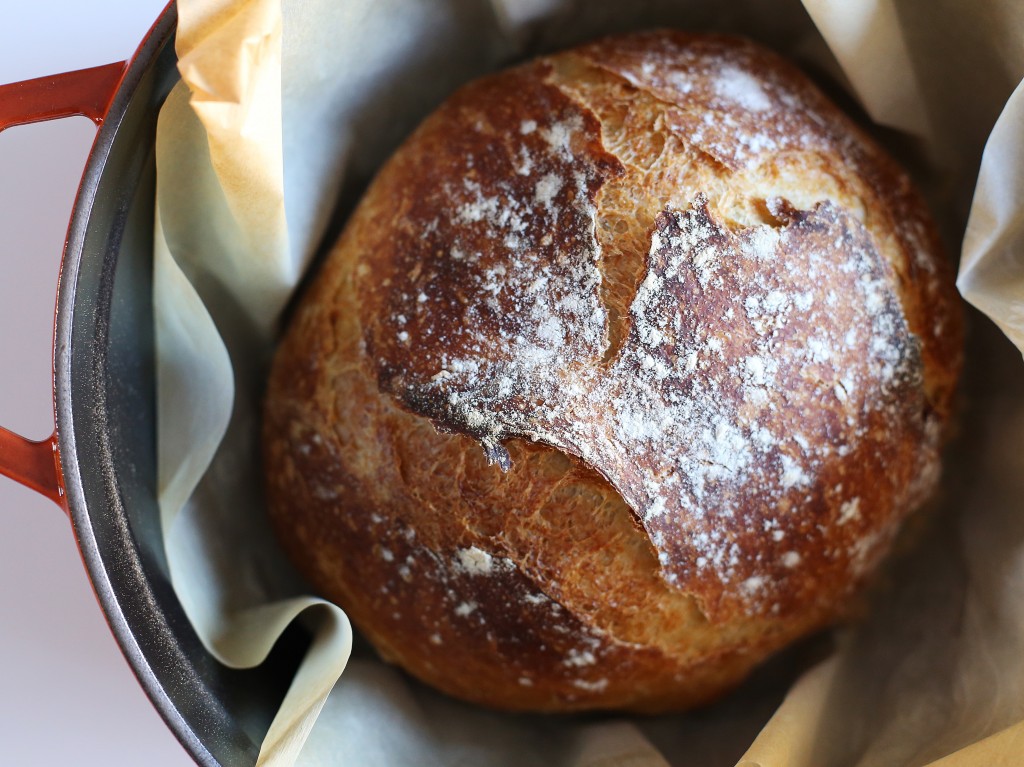
Believe it or not, this is actually one my favorite recipes that I have up here. There’s just something about homemade bread that I’ve always loved. Nothing beats cutting into a loaf that you made with your own two hands. No matter what, it is always going to taste better than anything you could ever buy.
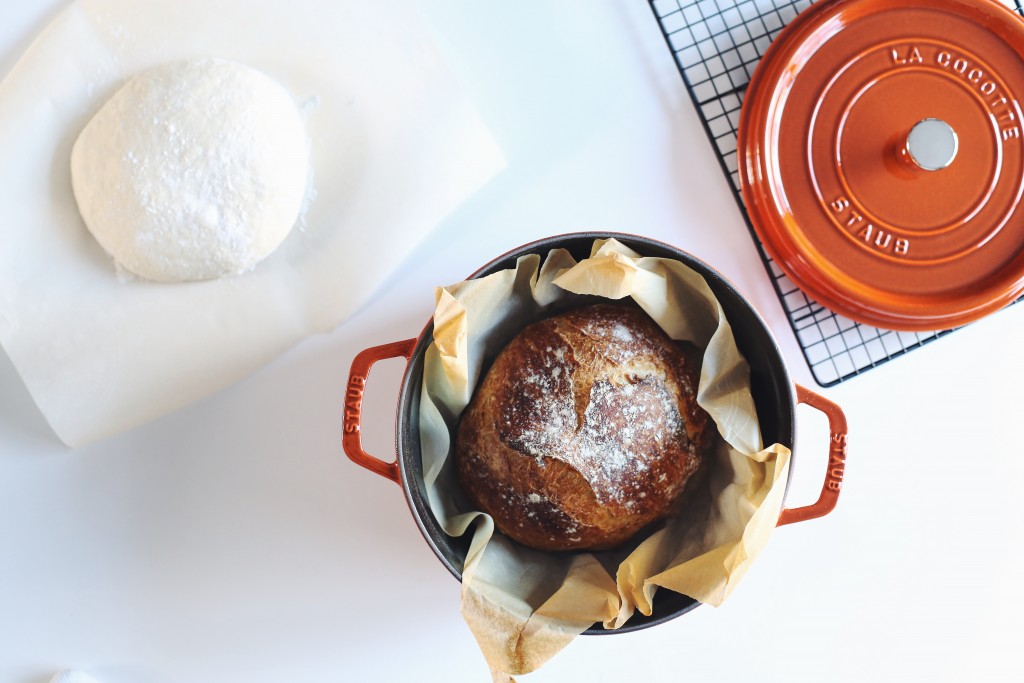
Now, there are tons of recipes for no-knead bread floating around the internet but I wanted to share it here as well. There are a few small things that this recipe has that truly make it amazing. I guarantee you that when you try this, you are going to be shocked at how simple it was too make and how incredibly good the results turned out to be. There really isn’t much you could do to screw this recipe up.
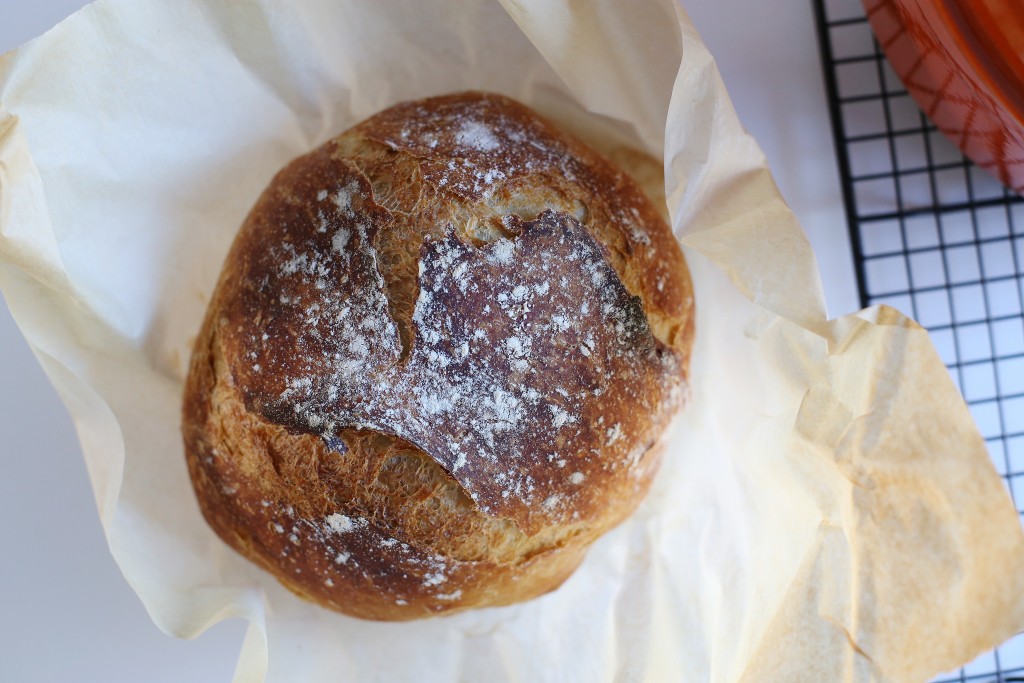
Despite it being super easy to make, this recipe does require a bit of time. Part of what makes this bread so good is the long rise time that the dough gets. As opposed to a typical bread recipe that is kneaded, no-knead bread requires a relatively long time to ferment in order to build up the glutens that give the bread its great texture.
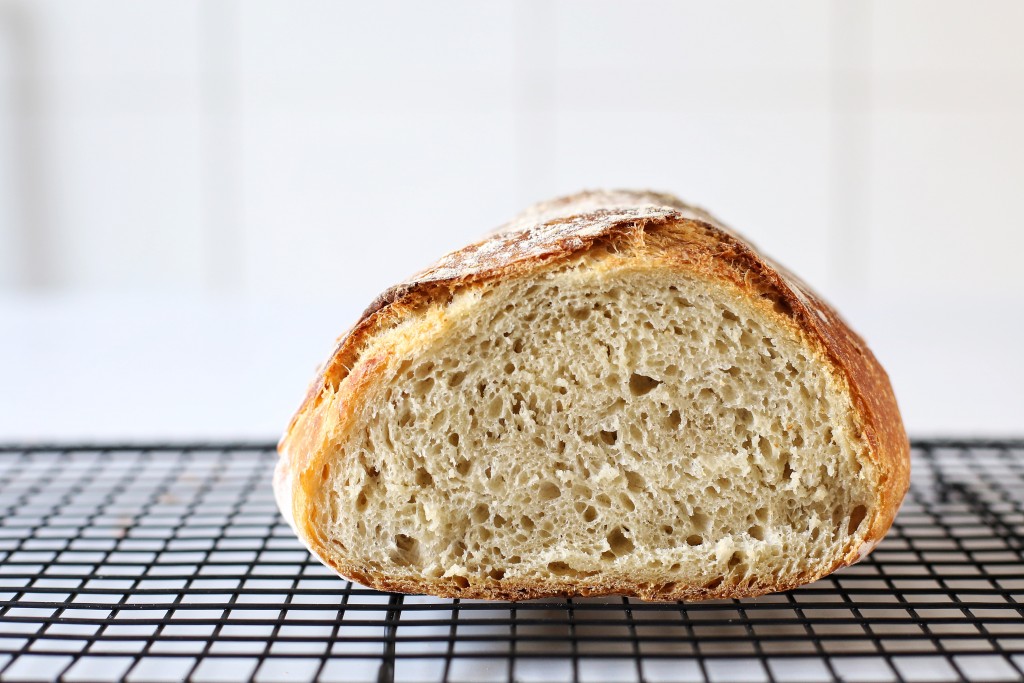
I don’t really consider the long rise a drawback, it’s just something that you need to take into account and plan for. I like to let the dough rise for 16-18 hours so you’re going to want to prep it the night before you plan to bake it. Another thing to keep in mind is that you’ll need a large oven safe cocotte or dutch-oven. Cast iron is going to work best since it really locks in the heat but I think any sort of vessel would work. Cooking in the cocotte creates the steam necessary to get a super crisp and rustic crust.
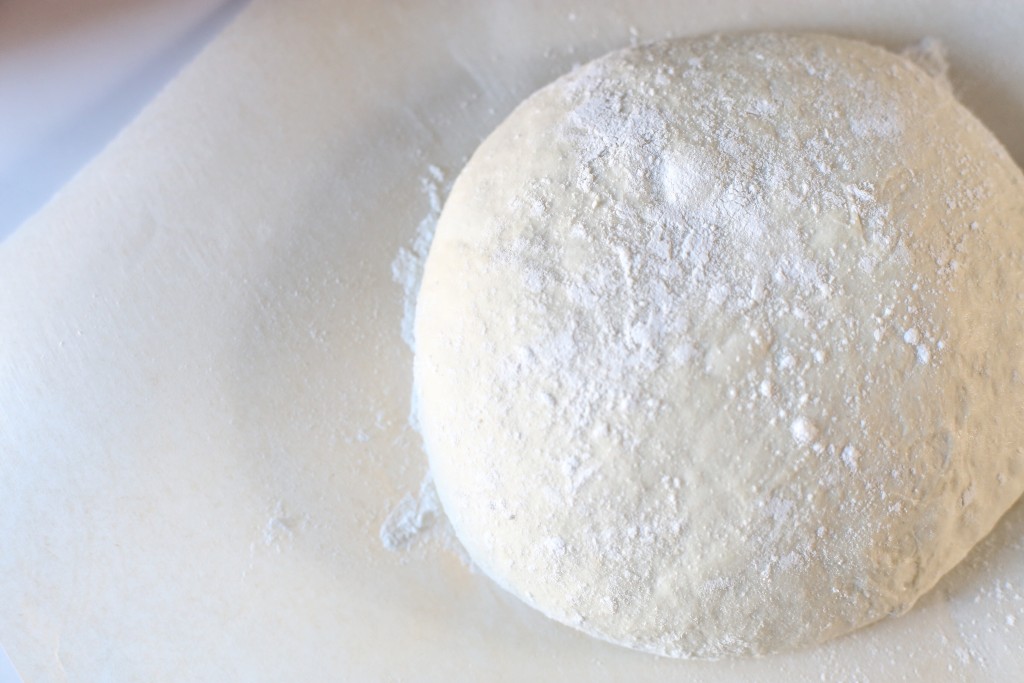
The first time I made this bread, I actually made it another two times in the same weekend. That’s three loaves in one weekend.. I think I may have a problem. I think its best hot and fresh out of the oven but another great use for it is to let it go a bit stale, then grill it with olive oil and rub with garlic. You really could use it for anything though and it will elevate whatever you use it for, whether it be grilled cheese, croutons, any sandwich or for dipping into soup. My favorite way to eat it is on its own and maybe with some runny eggs for dipping.
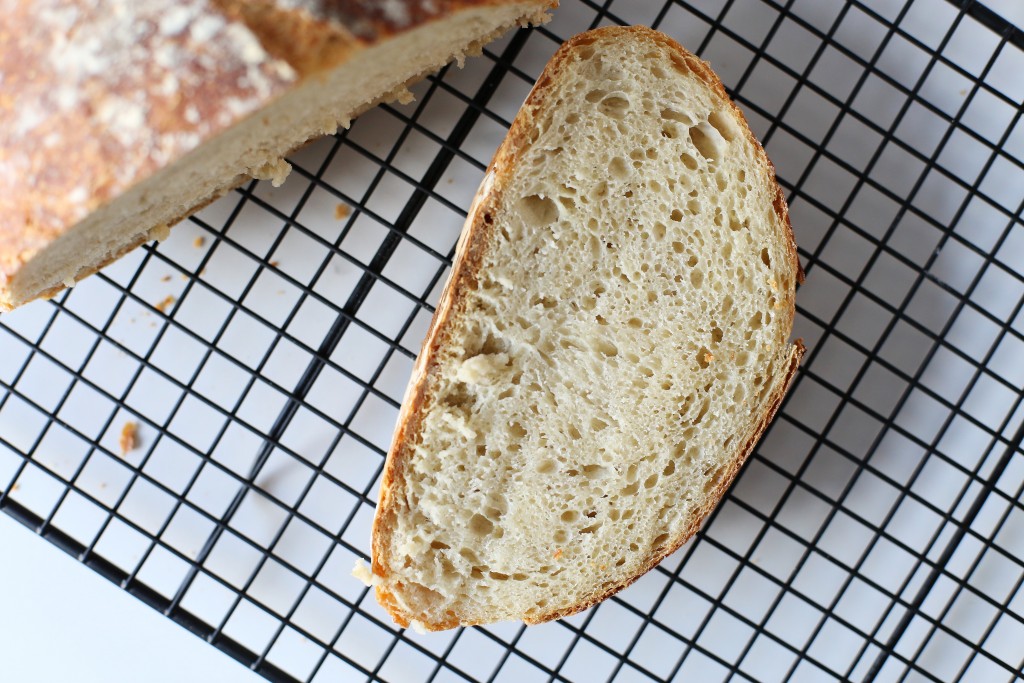
Again, please don’t be intimated by the long rising time. This recipe really couldn’t be easier. Unlike many other types of baking, this recipe is really forgiving. You don’t need to worry about super precise measurements at all. I’ve had a bit of inconsistencies in the dough due to laziness or because I was rushing and the bread has turned out perfect every time. It’s one of those things that you just need to get a feel for.
I hope you enjoy this recipe as much as I do.
Easy No-Knead Artisan Bread
Makes 1 Loaf
INGREDIENTS
- 3 cups bread flour, plus extra for dusting
- 1 teaspoon active dry yeast
- 1 1/2 teaspoons salt
- warm water (about 110°F)
METHOD
In a large mixing bowl, whisk together the flour, yeast, and salt. Pour in about 1 1/2 cups warm water and stir everything together with a wooden spoon or spatula until the dough comes together. If necessary add more water 1/2 tablespoon at a time until a dough forms. At this point the dough will look rough and sticky. Cover the bowl with plastic wrap and allow to rise for 12-18 hours, ideally closer to 18.
When ready to bake, place your cocotte or dutch oven into your oven preheated to 450°F and allow it to get really hot for at least 30 minutes.
While the dutch oven is preheating, flour your hands very well, and dump the dough onto a piece of parchment paper. Form it into a ball tucking the edges underneath and then lightly dust with flour and cover with a piece of plastic wrap. Allow it to rise for another 30 minutes to an hour while the dutch oven is preheating.
After it’s preheated, using oven mitts, carefully remove the dutch oven and transfer the dough into the pot. I recommend transferring it with the parchment paper. It’s cleaner and makes for easier transferring. Just pick up the corners of the paper and carefully drop it in. Return lid to dutch oven and place it back in the oven.
Allow it to bake for 45 minutes with the lid on, and then carefully remove the lid and bake for another 15 minutes until perfectly browed and crisp
Finally, remove the bread from the dutch oven and allow it to slightly cool before cutting into it and enjoying.
