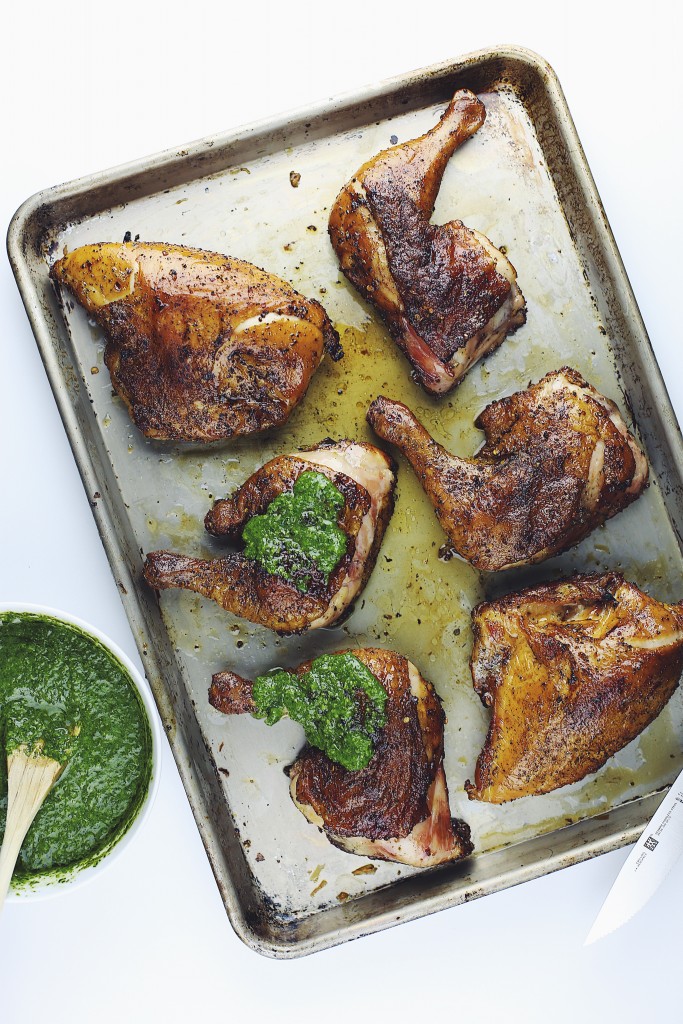
Smoked Chicken with Jalapeño Salsa Verde
When I think of an exciting dinner, chicken is not usually the first thing to pop into my head. I typically think of chicken as boring and uninspired. Probably because growing up, I had chicken breast for dinner several times a week. But chicken doesn’t have to be boring. It’s a great protein and there are so many things you can do with it to make it something that you actually crave. In the summer, I love to grill whole chickens. My favorite way to do it is by flattening it, and giving it a flavorful spice rub. It’s also fun to make beer can chicken on the Grill.
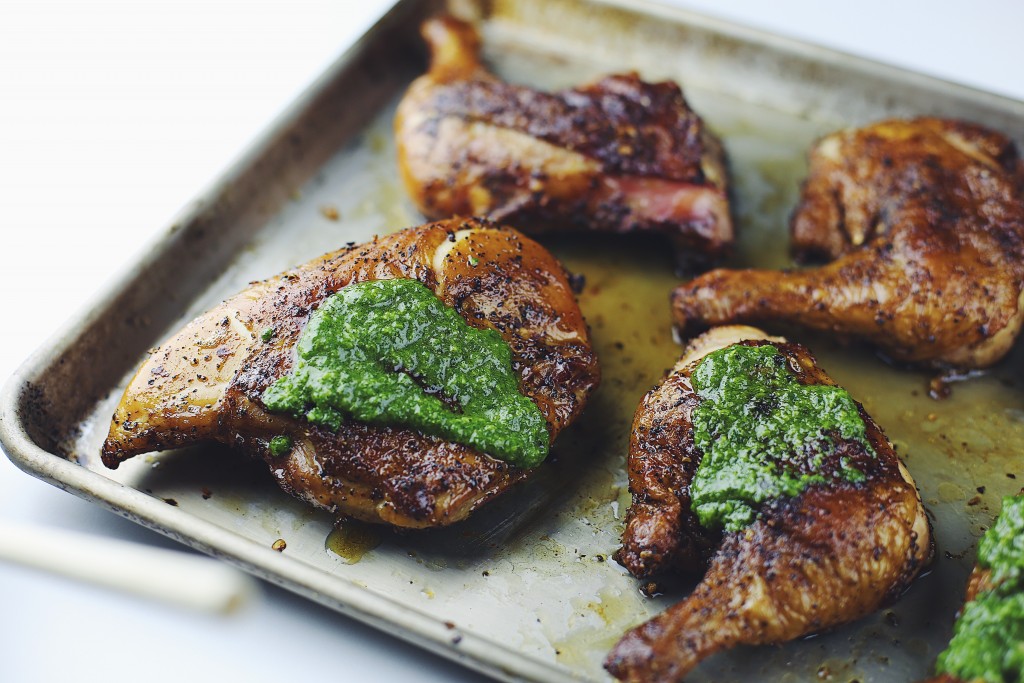
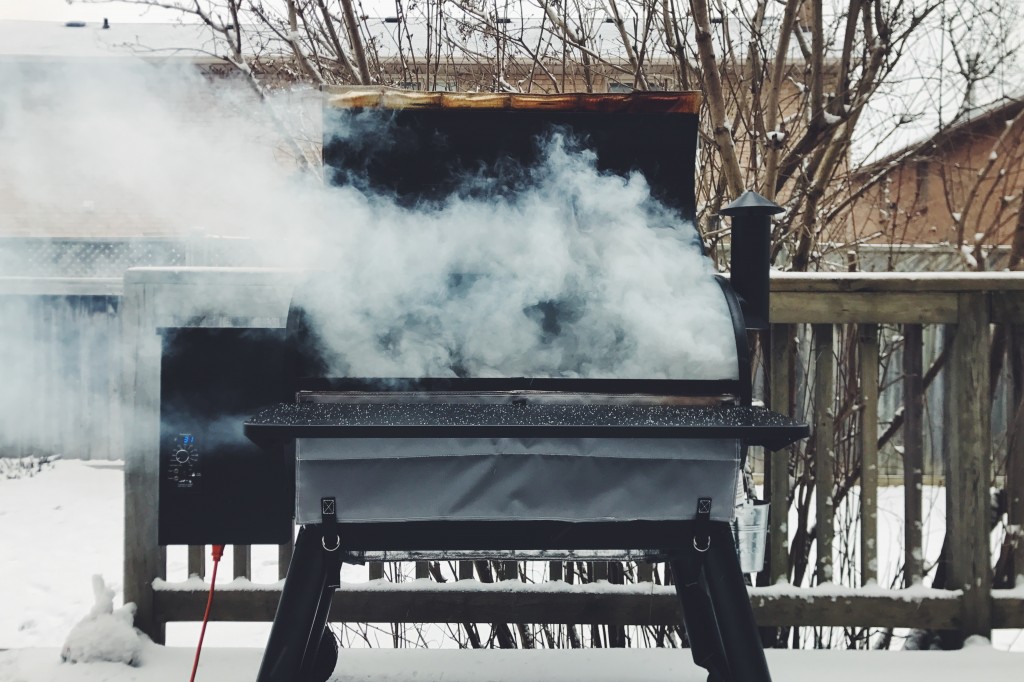
Smoking chicken is something that I’ve been wanting to try for a while now and since I’ve got my Traeger, I can make it whenever I want! Smoking is actually a really simple way to prepare chicken. It takes a bit longer than just grilling it, but I love the smoky flavor you get by cooking it low and slow. If you’re anything like me, you probably agree that the best part of grilling chicken is the crispy skin. If you just smoke the chicken over low heat, you won’t really get a crispy skin, but by cranking up the Traeger to high, you can get a super crispy skin, just take a look at these pictures!
One of the biggest issues people tend to have when cooking chicken is drying it out. I have a few tips to ensure you end up with a juicy bird. Firstly, brine the chicken. You can either do a wet brine or a dry brine. I tend to prefer dry brining my chicken. This basically consists of rubbing the chicken with salt and allowing it to rest in the fridge. It’s that simple. And if you are following this recipe and making a dry rub, you can put the whole rub on which will essentially act as a brine because of the salt content in it.
The second tip I have is to use a meat thermometer. Chicken is very susceptible to drying out so you don’t want to cook it past 165°F. There is no shame in checking the temperature periodically. It’s not going to let any juices out and it is definitely better than dry chicken. I swear by the Thermapen when I need a thermometer. Another thing to keep in mind is that when cooking chicken on the bone, it tends to stay juicer so whenever you can, cook it on the bone.
The dry rub I used for this recipe has a quite a few ingredients in it, but the exact recipe isn’t that important. You can use any dry rub you want or even just stick with salt and pepper. A lot of the delicious flavor in this recipe comes from the salsa verde anyway. The rub will also give you some extra, which you can store for later use. I like to make big batches of dry rubs so I have them on hand at all times.
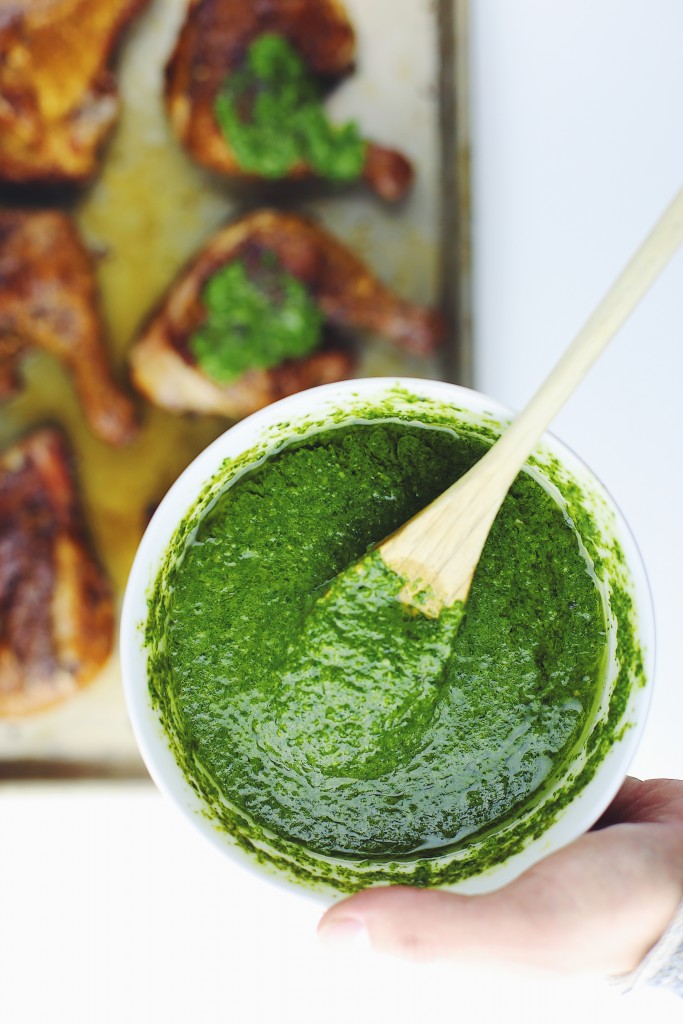
I love vibrant green sauces like these. Whether it’s a pesto, chimichurri, or salsa verde, there are so many delicious sauce that you can quickly whip up with some fresh herbs, olive oil, and a few simple ingredients. They really take a standard meal to the next level. The sauce will keep for 3-4 days in the fridge and goes great on fish, steak, or even sandwiches.
I cooked this chicken on my Traeger, but you could also use indirect/direct heat on a charcoal grill if you don’t have one.
Smoked Chicken with Jalapeño Salsa Verde
Ingredients
- 8 quartered chicken pieces (legs or breasts)
For the Rub
- 1/4 cup plus 2 tablespoons kosher salt
- 1/4 cup ground coffee
- 1/4 cup dark brown sugar
- 4 tbsp crushed chili flakes
- 2 tbsp smoked paprika
- 1 tbsp garlic powder
- 1 tbsp onion powder
- 1 tbsp fresh cracked pepper
- 1 tbsp coriander seeds, cracked with mortar and pestle or spice grinder
- 1 tbsp cumin seeds, cracked with mortar and pestle or spice grinder
- 1 tsp fennel seeds, cracked with mortar and pestle or spice grinder
- 1 tsp mustard seeds cracked with mortar and pestle or spice grinder
For the Salsa Verde
- 1 bunch cilantro
- 1 bunch flat leaf parsley
- 3 jalapeños, seeds removed
- 2-3 cloves of garlic
- Juice and zest of 1 lemon
- Olive oil
- Salt and pepper
Method
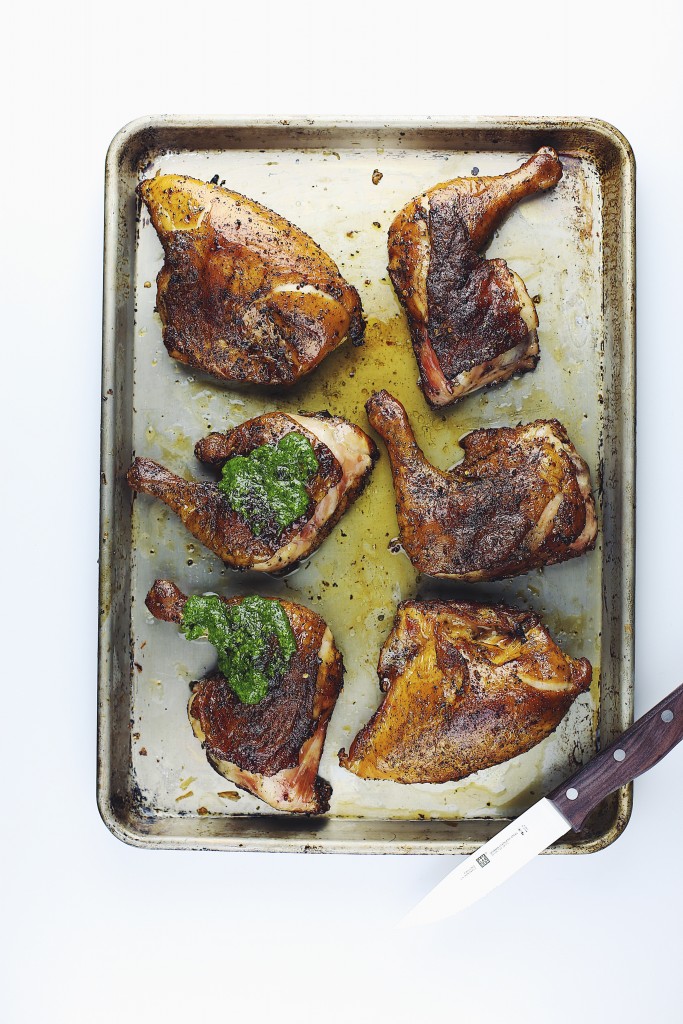
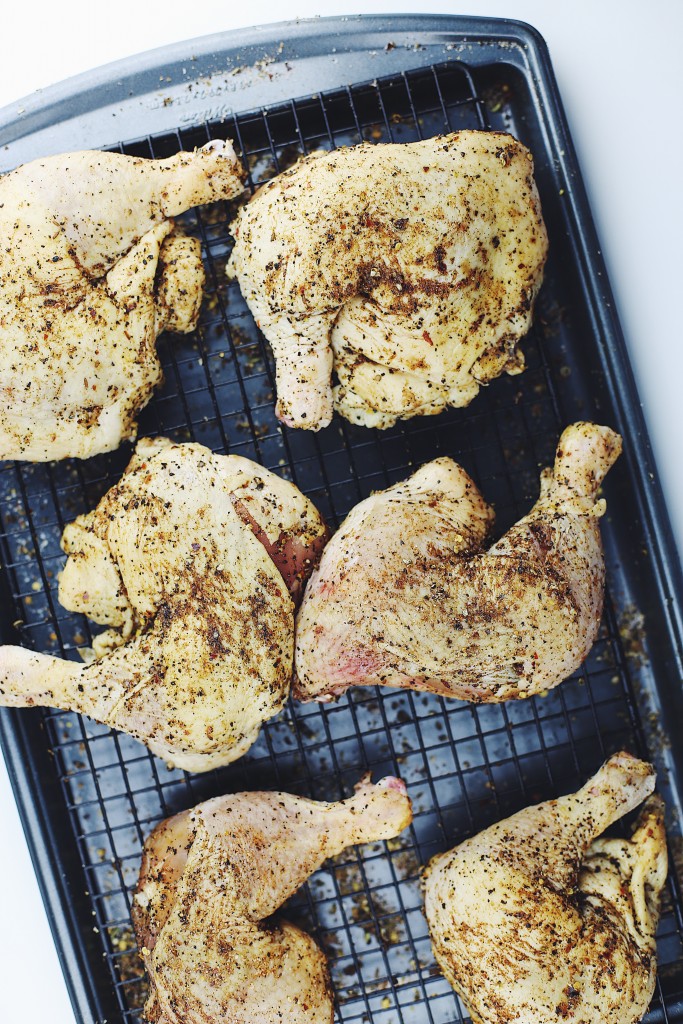
To make the rub, combine all the ingredients in a bowl and mix well. Cover, and set aside until ready to use. Place the chicken on a baking sheet or wire rack and fully coat in the dry rub. Use your hands to really coat the chicken ensuring you get in all the crevices and under the skin if possible. Place the chicken in the fridge uncovered for at least 2 hours and up to overnight.
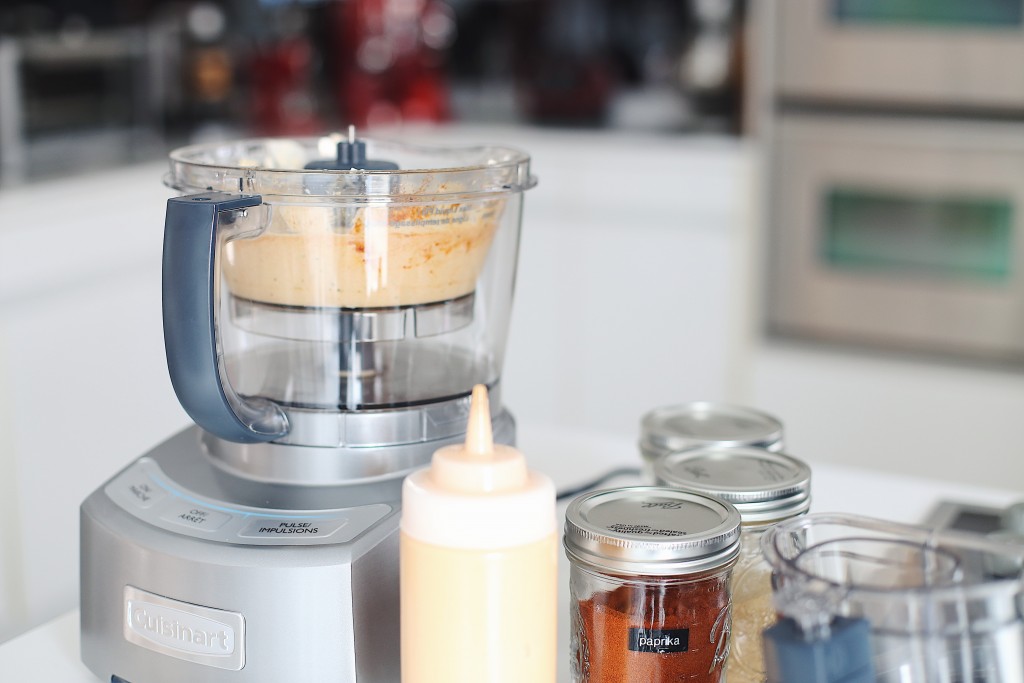
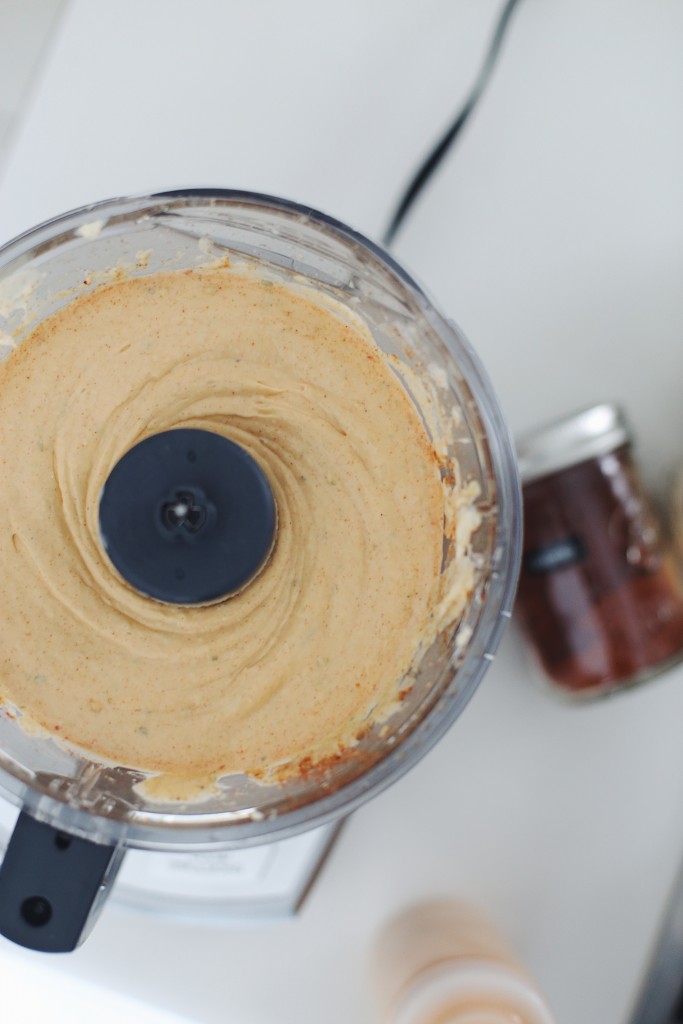
While the chicken is doing its thing in the fridge, make the salsa verde. Start by removing the seeds from the Jalapeños and then placing the seeded jalapeños in a food processor along with the garlic, and a drizzle of olive oil. Pulse together until very finely chopped into an almost paste like consistency. Add in the Cilantro and Parsley and continue to pulse until roughly chopped. While the food processor is running, slowly drizzle in olive oil until smooth and your desired consistency is reached. Squeeze in the lemon along with its zest and season to taste with salt and pepper and then transfer to bowl. Store in fridge and then take it out while your chicken is cooking.
Take the chicken out of the fridge about 45 minutes before you want to cook it. To cook the chicken, start your Traeger on smoke with the lid open until the flame starts, about 5 minutes. Close lid and set to 225°F allowing it to preheat for 15 minutes. Place the chicken on the grill, skin side up and allow it to cook for about an hour and half to 2 hours or until the chicken reaches 155°F. At this point, remove the chicken to a tray, and then crank up the grill to 450°F. Allow it to preheat for another 15 minutes and then place the chicken back on, skin side up. Close the grill and allow the chicken to finish cooking until an internal temperature of 165°F and then remove. Allow chicken to rest for 10 minutes before serving.
Slather the chicken with the jalapeño salsa verde to serve.