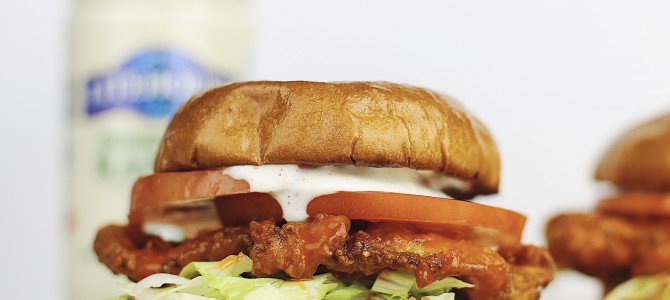
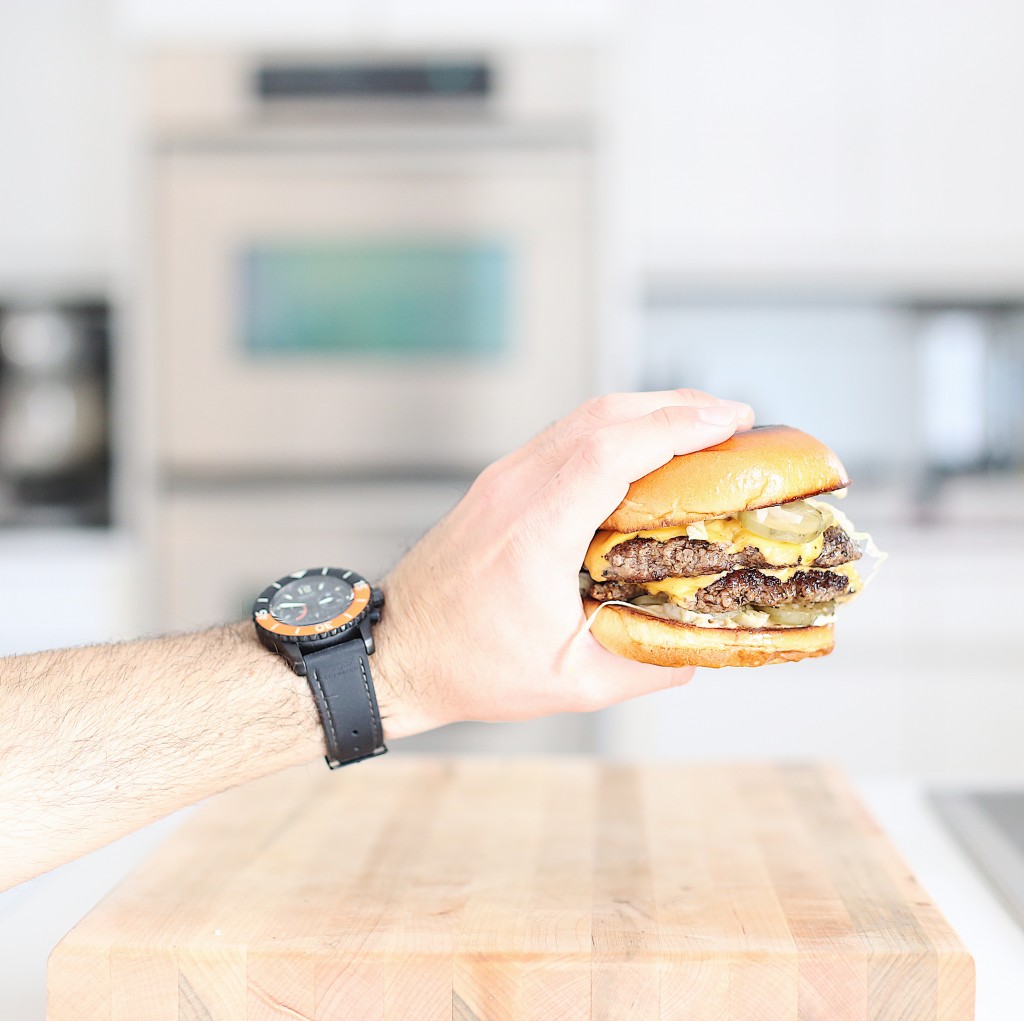
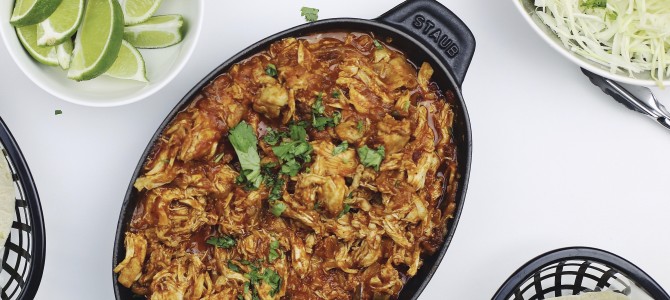
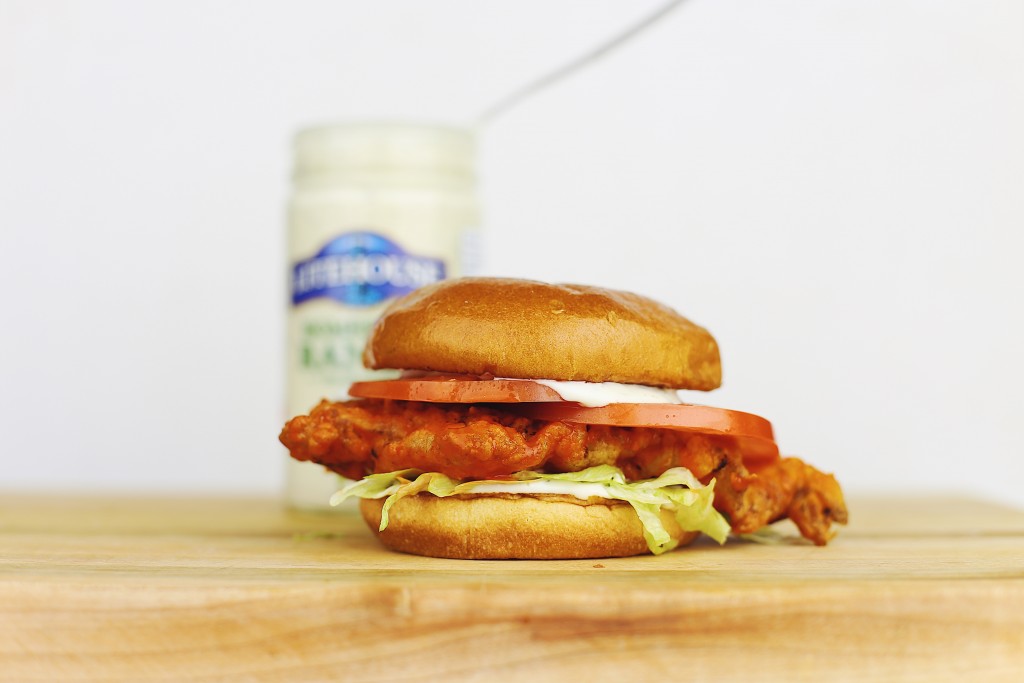
Buffalo Ranch Fried Chicken Sandwich
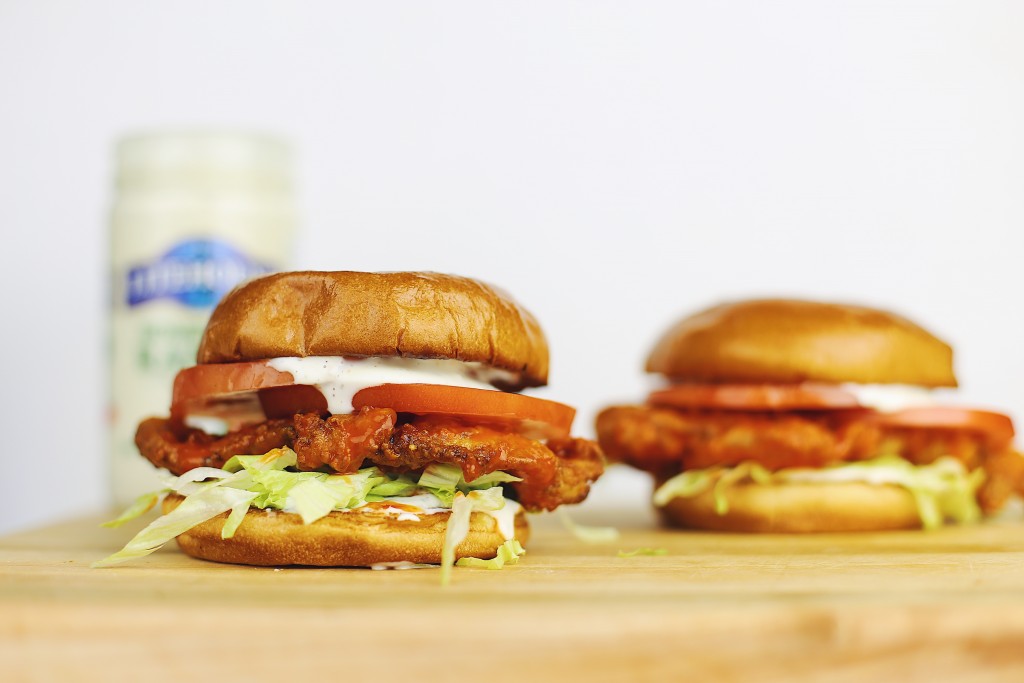
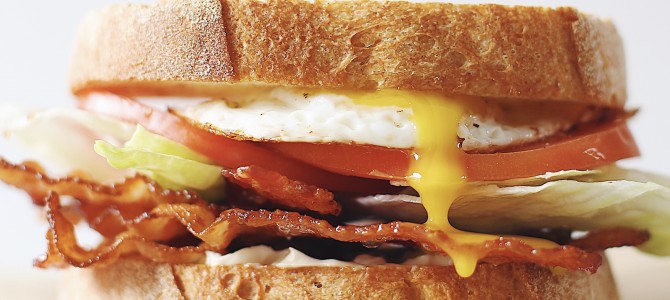
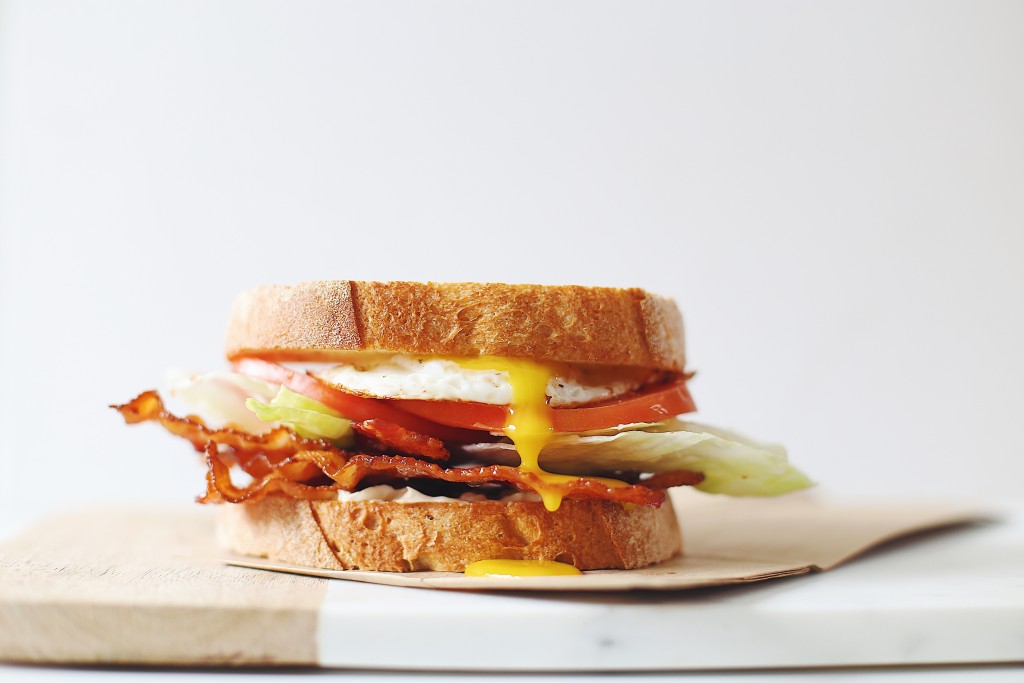
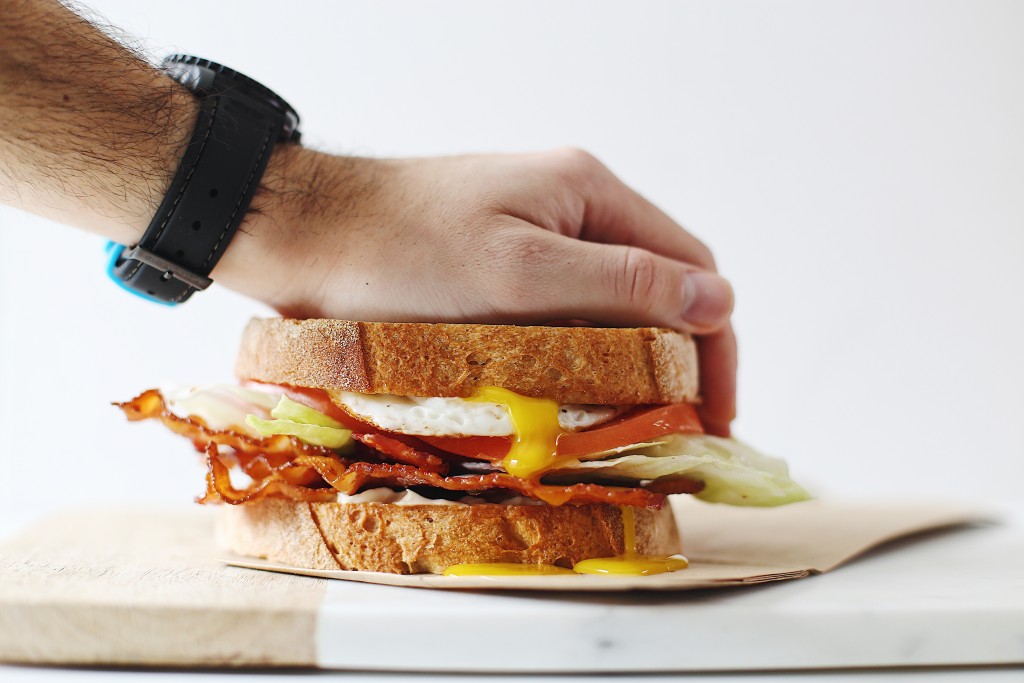
It doesn’t get much better than fried chicken. That is, unless you drench it with buffalo sauce and stick it on a toasted brioche bun. There’s something about the combination of spicy buffalo sauce with a cool, creamy ranch that is so perfect and satisfying.
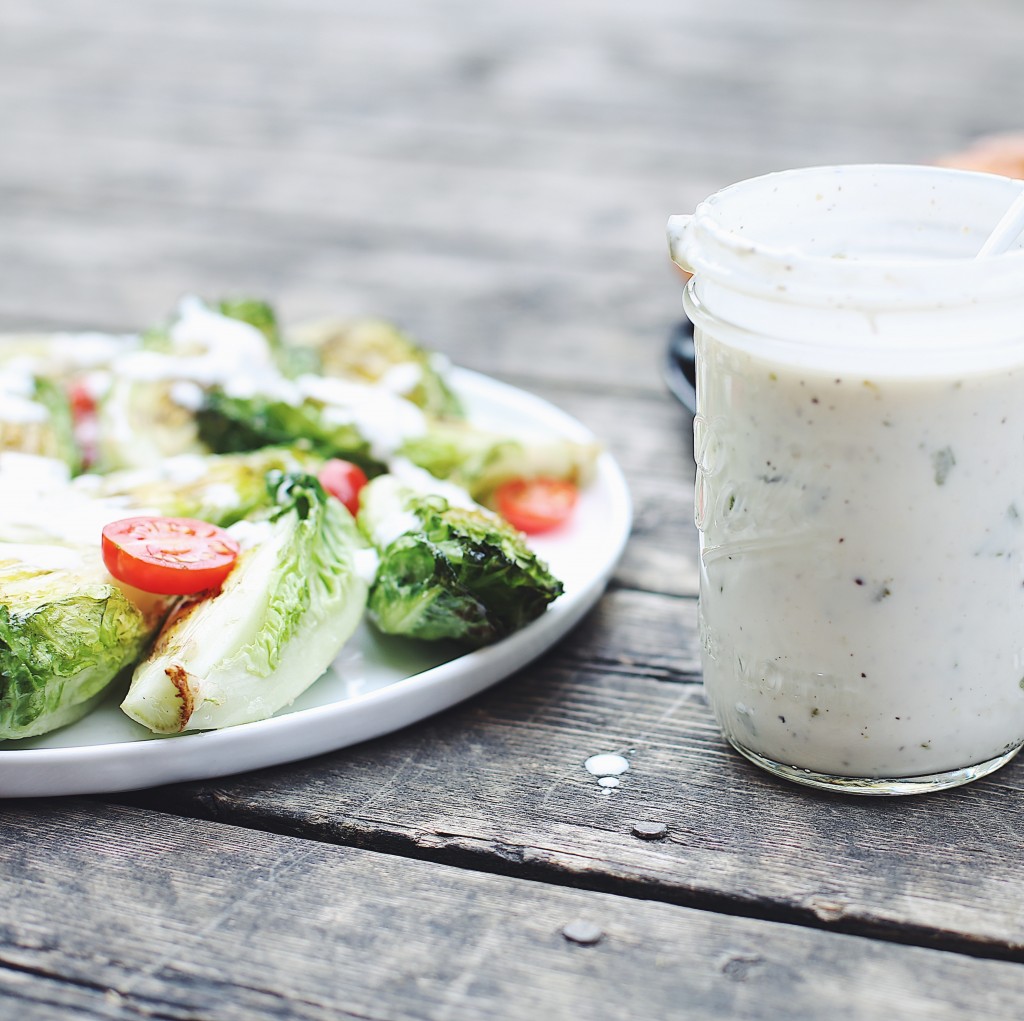
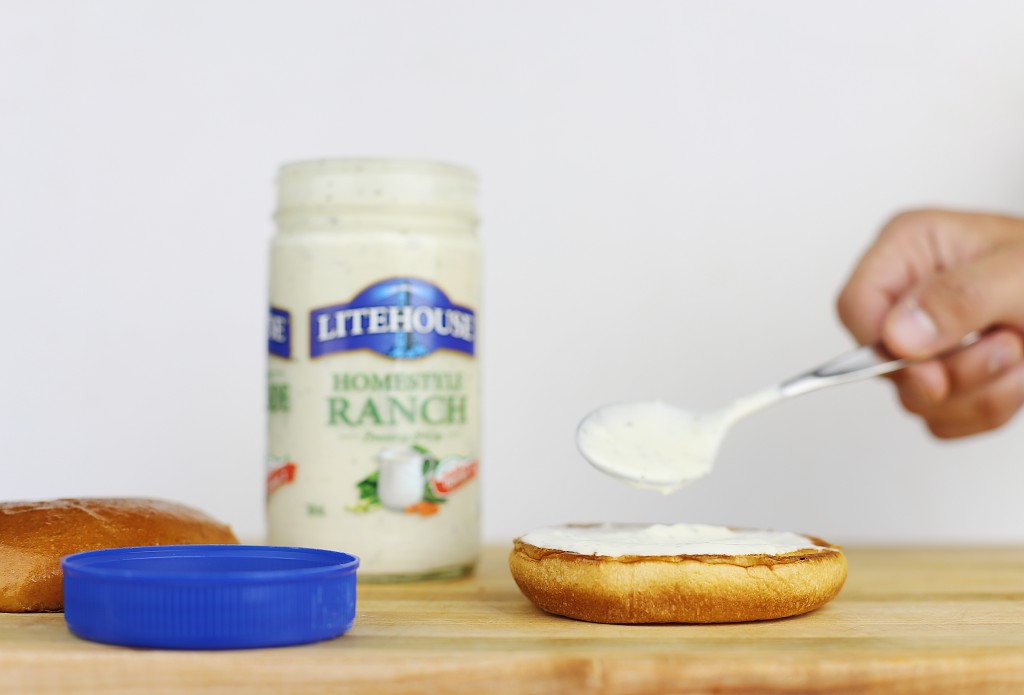
For this recipe, I’ve partnered with Litehouse. I have been monetarily compensated by Litehouse inc. but any and all opinions are my own. To be honest, I’m usually not a fan of store bought salad dressings, especially ranch. I preferred to make my own. Room temperature ranch dressing from the aisle did not seem very appealing to me. When Litehouse reached out to me, I was intrigued to try their Ranch. It’s made with real, fresh ingredients, and sold in the refrigerated section, so you know it’s not full of preservatives. And I’ve got to say, since they sent me their Homestyle Ranch dressing to try, I haven’t bothered to make my own. Litehouse is just as good.
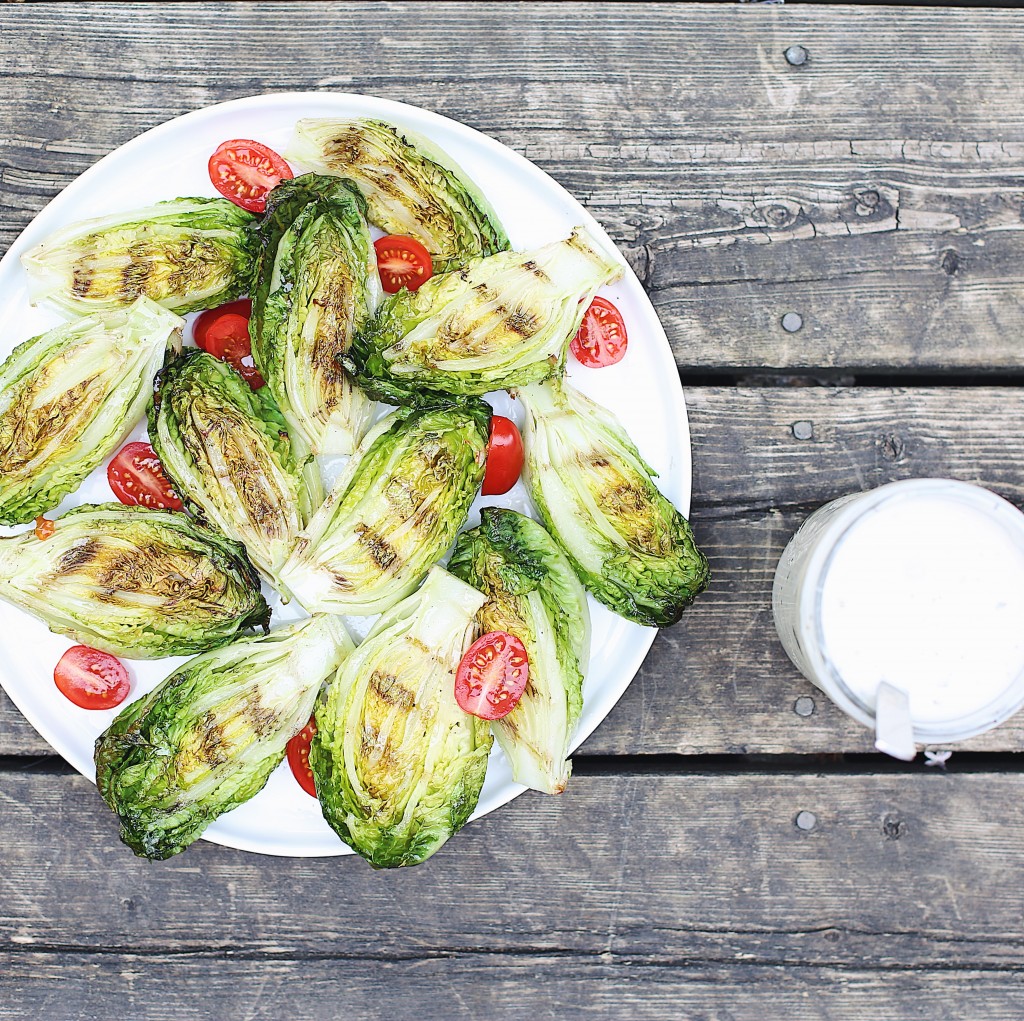
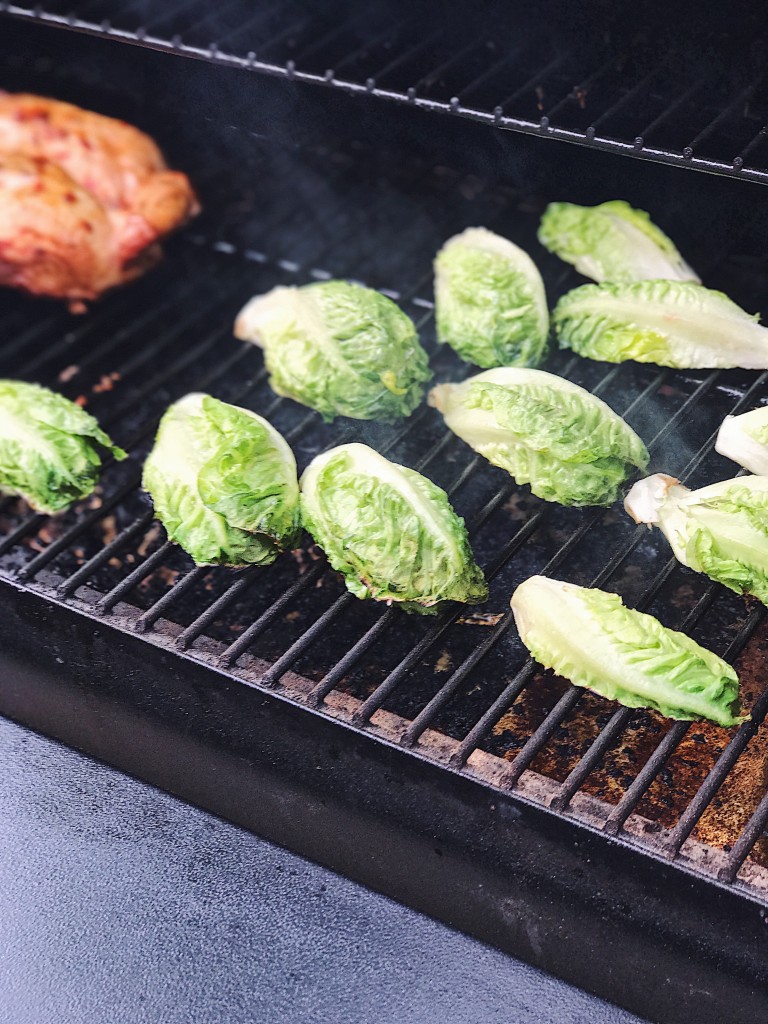
I knew that their Homestyle Ranch would be perfect for buffalo chicken sandwiches. As much as I love the heat from the buffalo sauce, a cool refreshing ranch is the perfect complement and really completes the sandwich. I wouldn’t use a room temperature ranch, but Litehouse is as fresh as it gets. I’ve been using this dressing on everything this summer. Iceberg wedge salads, grilled cabbage, and just cut up veggies for a quick snack. When looking for Litehouse in the grocery store, be sure to go to the refrigerated section.
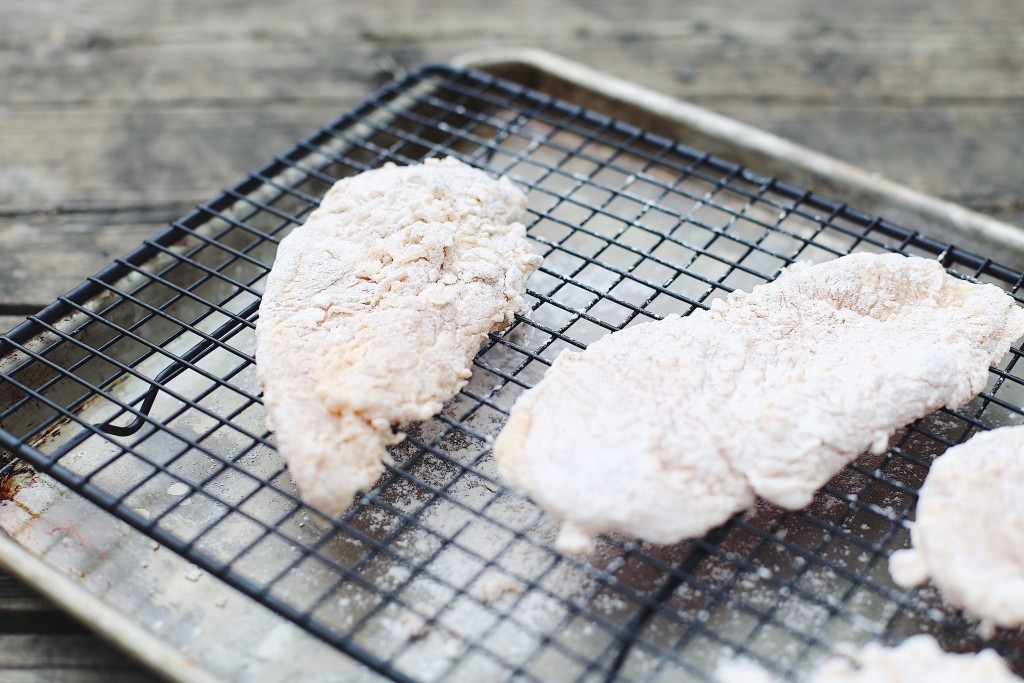
Now onto the fried chicken. I’ve made my fair share of fried chicken and I’ve tried a bunch of different methods. Brining, not brining, double dipping, bread crumbs, there really are a million different ways to prep chicken for the frier. One technique that I’ve picked up and stuck with is adding a few tablespoons of the marinade to the flour dredge. It forms little lumps within the flour which help create a rough texture and a super crispy crust. I used to double dip in flour, but with thin pieces of chicken, you end up with too much crust. To me, the marinade in the flour is the perfect solution.
I find that one chicken breast is perfect for two sandwiches. You want to butterfly right in half so you end up with two thin chicken breasts. Sometimes, you will be able to find them thinly cut in grocery stores, but if not, just cut it yourself. Because the chicken is relatively thin, you don’t want to leave them in the buttermilk marinade for two long. For larger pieces of chicken I would say up to 24 hours is fine, but for these, I wouldn’t go longer than 12. But don’t worry if you can’t make time for that, a few hours in the fridge should do the trick.
when frying the chicken, be sure not to overcrowd the pan or else the oil temperature may drop. Getting crispy crust is all about keeping the oil hot. If the temperature drops, the chicken will absorb the oil and you’ll end up with a soggy crust.

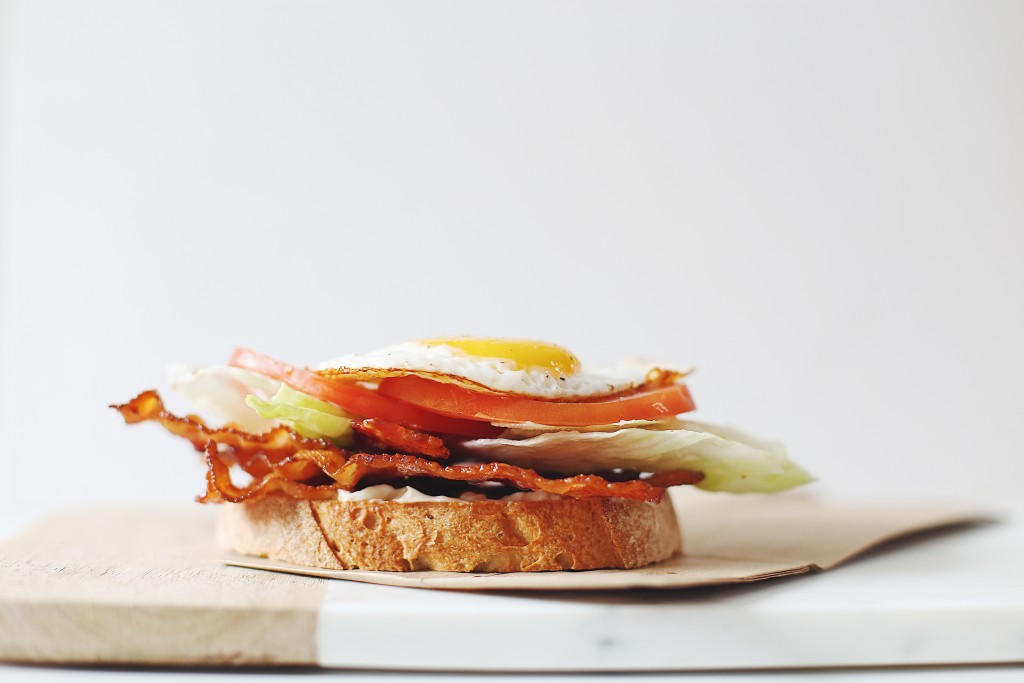
I like to top my buffalo chicken sandwiches with shredded lettuce, tomato, and lots of Homestyle Ranch. When I made this recipe, I actually had extra chicken and served it as chicken tenders with the Ranch as a dipping sauce. I hope you enjoy Litehouse’s Homestyle Ranch as much as I did!
Buffalo Ranch Fried Chicken Sandwich
Ingredients
For the Chicken
- 2 chicken breasts, butterflied into halves
- 1 cup flour
- 1/4 cup corn starch
- 1 tbsp plus 1 tsp kosher salt
- 1/2 tsp garlic powder
- 1/2 tsp onion powder
- 1/2 tsp paprika
- 1 cup buttermilk
- Canola oil, for frying
To make the Sandwiches
- 8 tbsp Litehouse Homestyle Ranch Dressing
- 1/4 cup buffalo sauce
- Lettuce, Shredded
- Tomato, Sliced
- 4 brioche buns
Method
In a large ziplock bag or bowl, combine the halved chicken breasts with the buttermilk and 1 tbsp salt. Place in the fridge and allow to marinate for at least 2 hours and up to 12. In another large bowl or ziplock bag, combine the flour, cornstarch, remaining salt, garlic powder, onion power, and paprika. Add 3-4 tbsp of the buttermilk marinade to the flour mixture and stir everything together. The addition of the buttermilk will create small lumps in the dredge which helps create an extra crispy crust.
Remove the chicken from the buttermilk, and toss each breast in the flour mixture ensuring it is fully coated. Place the dredged chicken on parchment paper until ready to fry. When ready to fry, heat oil to in a large, heavy bottomed pan to 360°F.
Carefully place the chicken breasts into the oil and fry for 5-7 minutes, or until an internal temperature of 165°F. I recommend cooking the chicken in two batches to ensure the oil temperature doesn’t drop too low. When the chicken is done, remove to wire rack or paper towel to drain excess oil.
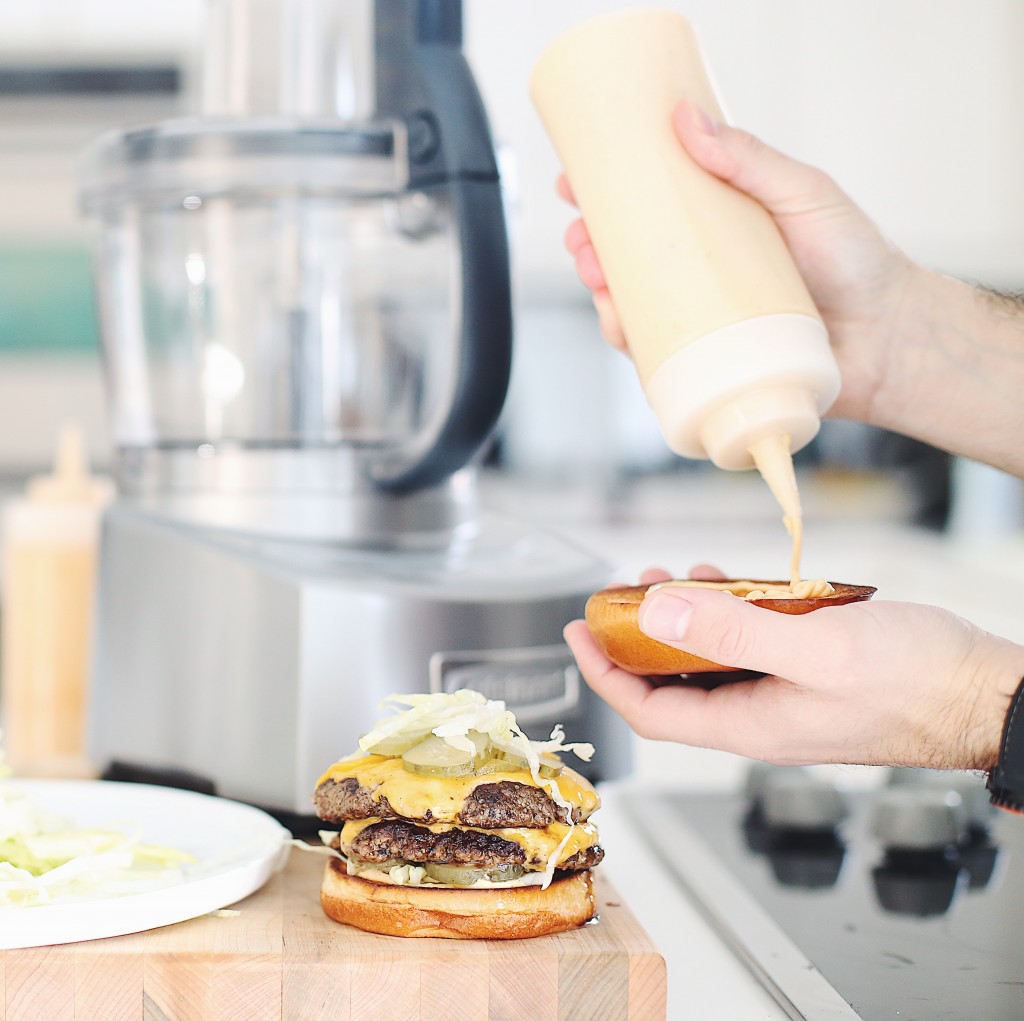
To coat the chicken in the buffalo sauce, either toss all the fried chicken in a bowl with the buffalo sauce, or brush the sauce onto each piece of fried chicken. Either will work. When ready to build the sandwiches, toast each brioche bun, and spread a generous dollop of Litehuse Homestyle Ranch onto the bottoms and tops of each bun. Place lettuce on the bottom bun followed by the chicken and then tomatoes. Finally place the top bun on and dig in!