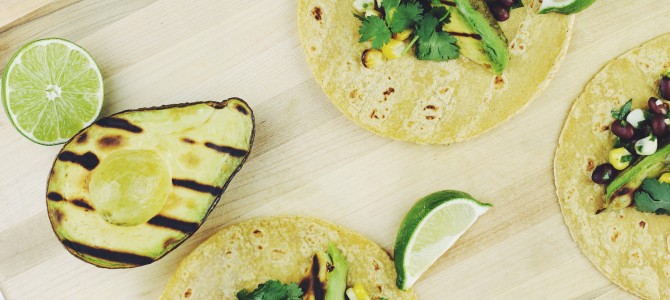
Grilled Avocado Tacos
Summer time is all about grilling. It’s also all about tacos. So when Reynolds asked me to help out and create a recipe for their summer BBQ Endless Table on Instagram, I knew this would be perfect.
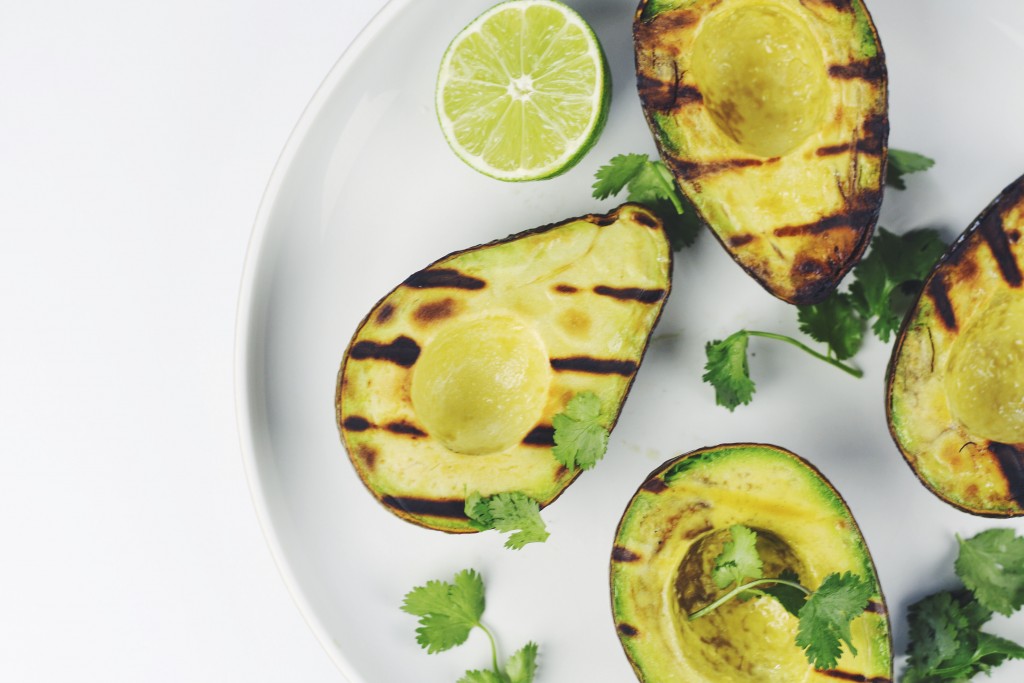
I had never grilled Avocados before but after a bit of testing, I found that they tasted pretty good. It was best to grill them halved but with the skin still on so they held together nicely. Technically you could quarter them before grilling if you wanted to grill multiple sides but I don’t think it’s necessary.
If you’re thinking you won’t enjoy a taco without some sort of meat, think again. Avocados make a great taco base that’s super satisfying and almost meaty; especially when grilled. I’ve actually been meaning to try a deep fried avocado taco, which I will definitely check off the list soon.

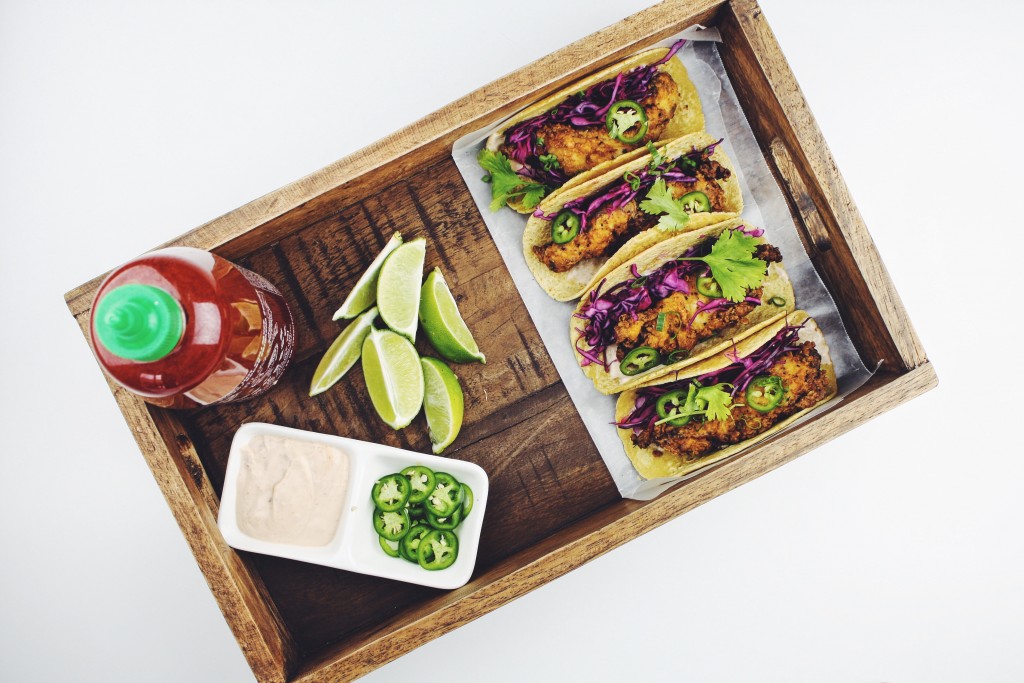
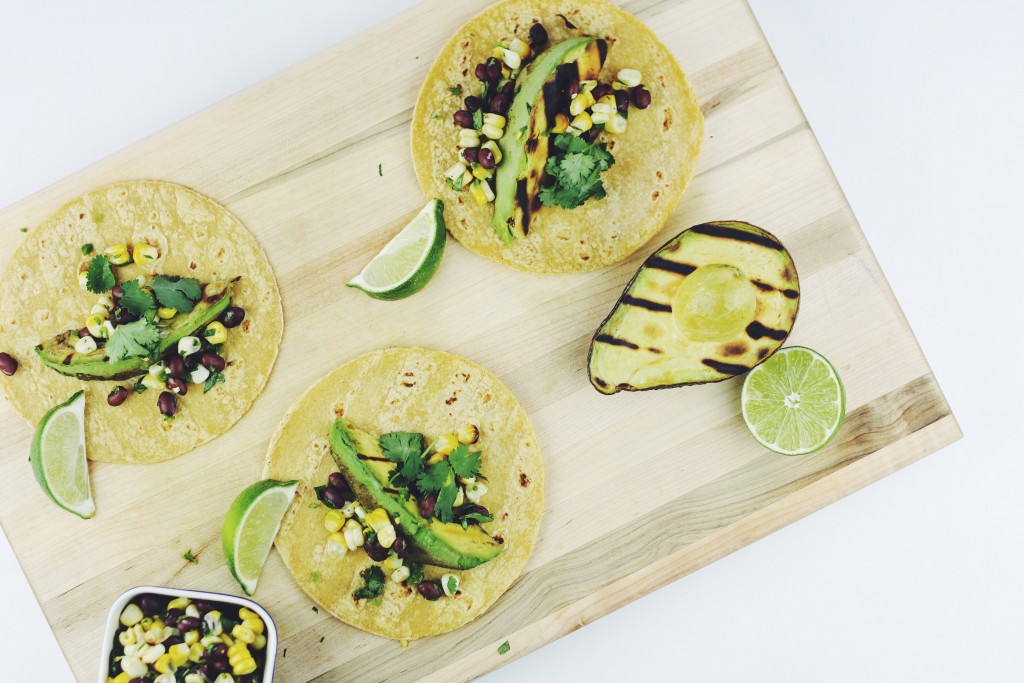
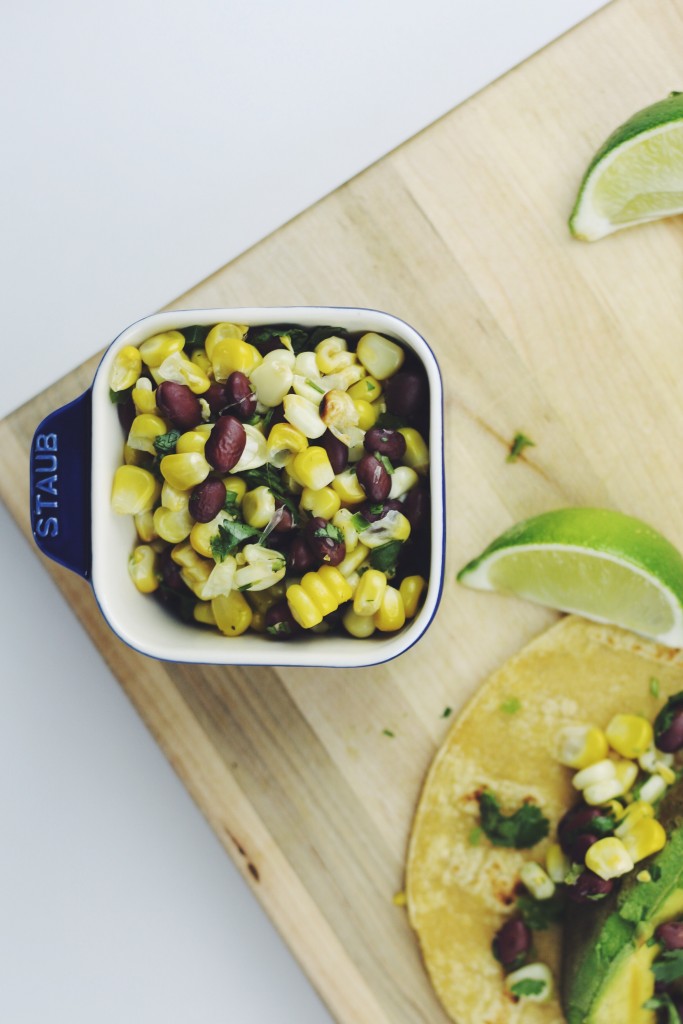
These tacos are topped with a fresh salsa made from grilled corn and black beans along with a spicy kick from jalapeño and some brightness from cilantro and lime. They’re perfect for a fun summer dinner or backyard BBQ. They also make a great option if you are vegetarian or cooking for one. It’s one of those meals that makes everybody happy.
One of the easiest ways to grill corn, especially for a salsa is to just wrap it in foil and throw it on the grill. Of course you can grill it without the foil for the added char, but you’ll have to keep an eye on it as it will burn quickly. The foil method is worry free and always give great results. Same goes for the tortillas. When I make a big batch of tacos, I always just wrap up a bunch in foil and toss it on the grill. The foil even doubles as a tortilla warmer while everybody is eating.
I still have one more recipe on the Endless table that I will be sharing this summer, but in the meantime, check out some other amazing recipes on the Endless Table here. For this recipe, along with all the other Endless Table recipes, Reynolds sent me some foil to utilize. I often use foil in my cooking so I am happy to incorporate it into my recipes. All opinions about it are my own.
Grilled Avocado Tacos
Ingredients
- 3 large avocados
- 2 ears fresh corn, shucked
- 1/2 can black beans, rinsed and drained
- 1 jalapeno, seeds removed and finely chopped
- 1 large handful of cilantro, roughly chopped
- 2 limes
- 12 corn tortillas
- 1 tablespoon olive oil
- Pinch of sea salt
- Pinch of black pepper
Method
- Preheat grill to medium high heat
- Brush corn with olive oil and individually wrap with Reynolds Wrap® Aluminum Foil. Place on the grill turning frequently for 20 minutes. Allow to cool slightly before handling.
- Cut corn off the cob and combine with black beans, jalapeno, cilantro and the juice of 1 lime. Season to taste with salt and pepper and set salsa aside.
- Slice avocados in half and remove the seeds but do not remove the skin yet. Squeeze the juice of the remaining lime over the avocados and lightly brush them with olive oil.
- Grill flesh side down for 2-3 minutes then remove. Quarter each avocado half and then carefully peel off the skin
- Wrap tortillas in foil and place on the grill while the avocados are cooking.
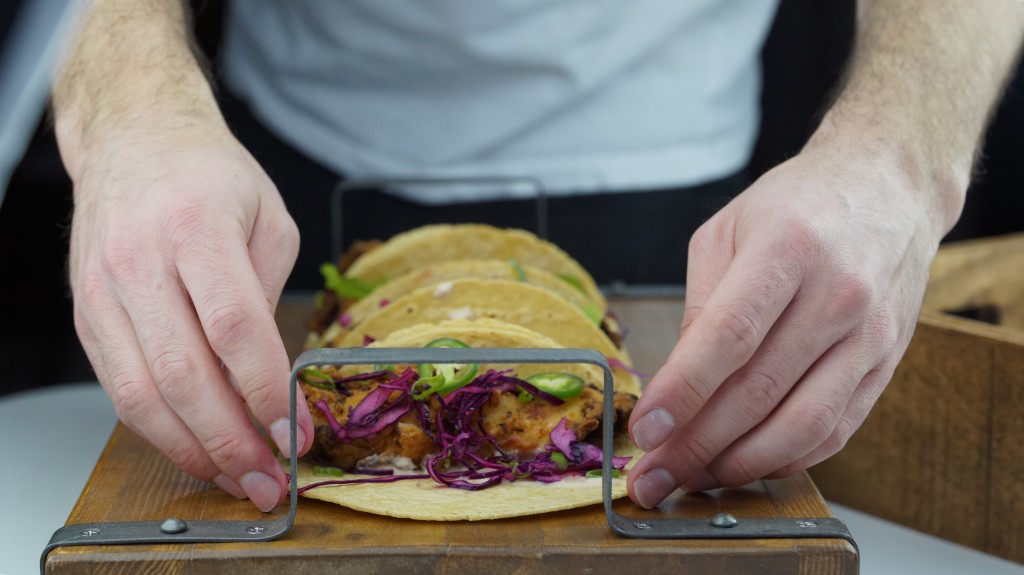
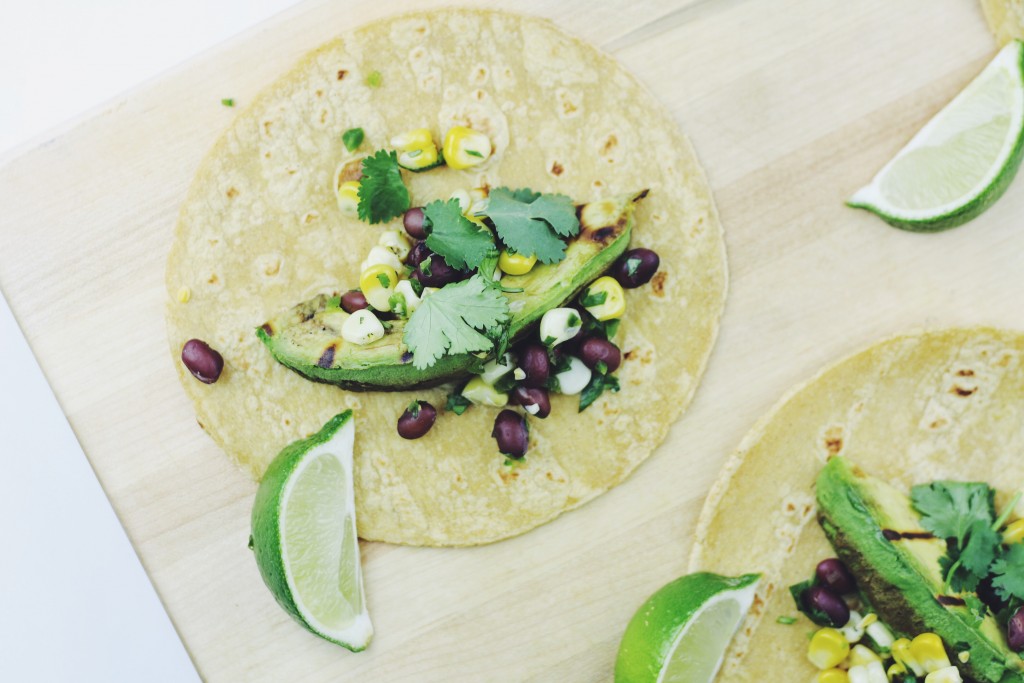
- Build tacos by placing avocado slices on tortillas and then top with the corn and black bean salsa.
- Serve with your favorite hot sauce and additional lime wedges.