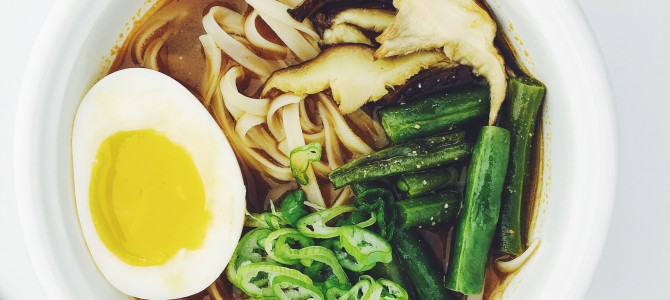
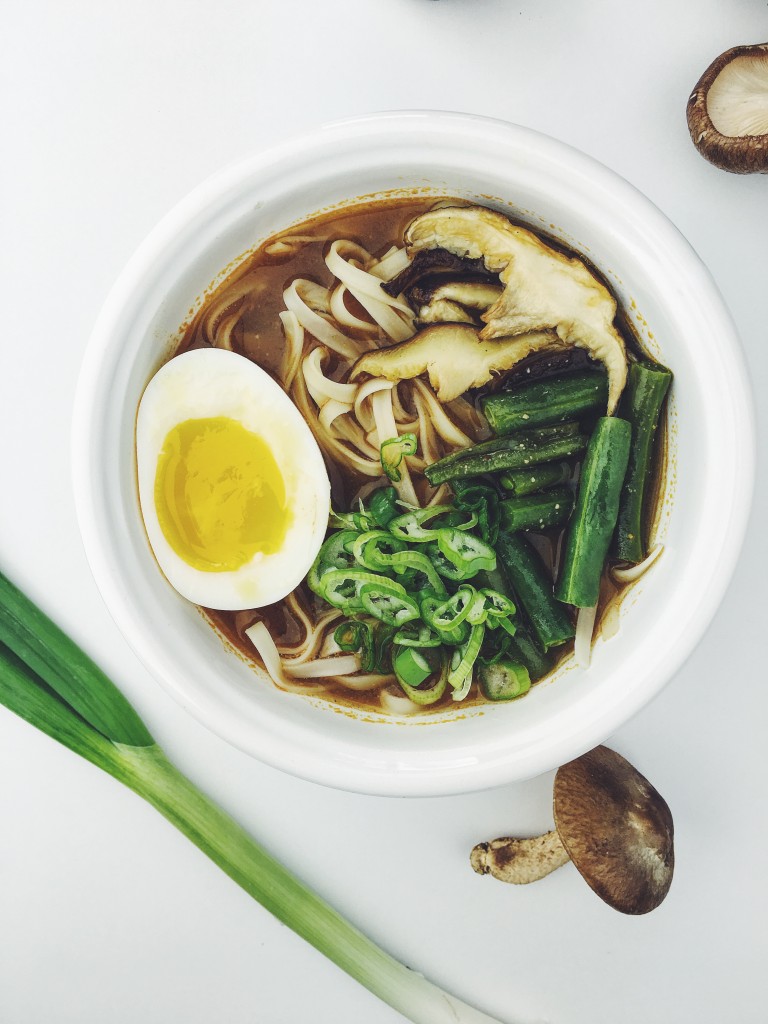
Spicy Miso Soup with Roasted Shitake Mushrooms & Green Beans
I recently had the opportunity to get to work with Reynolds to help create recipes for their Endless Table Program on Instagram. If you aren’t familiar with the program, it is basically a bird’s eye view of a table featuring countless dishes that are all connected. It’s really cool, definitely check it out on Instagram, and visit the website for all the recipes.
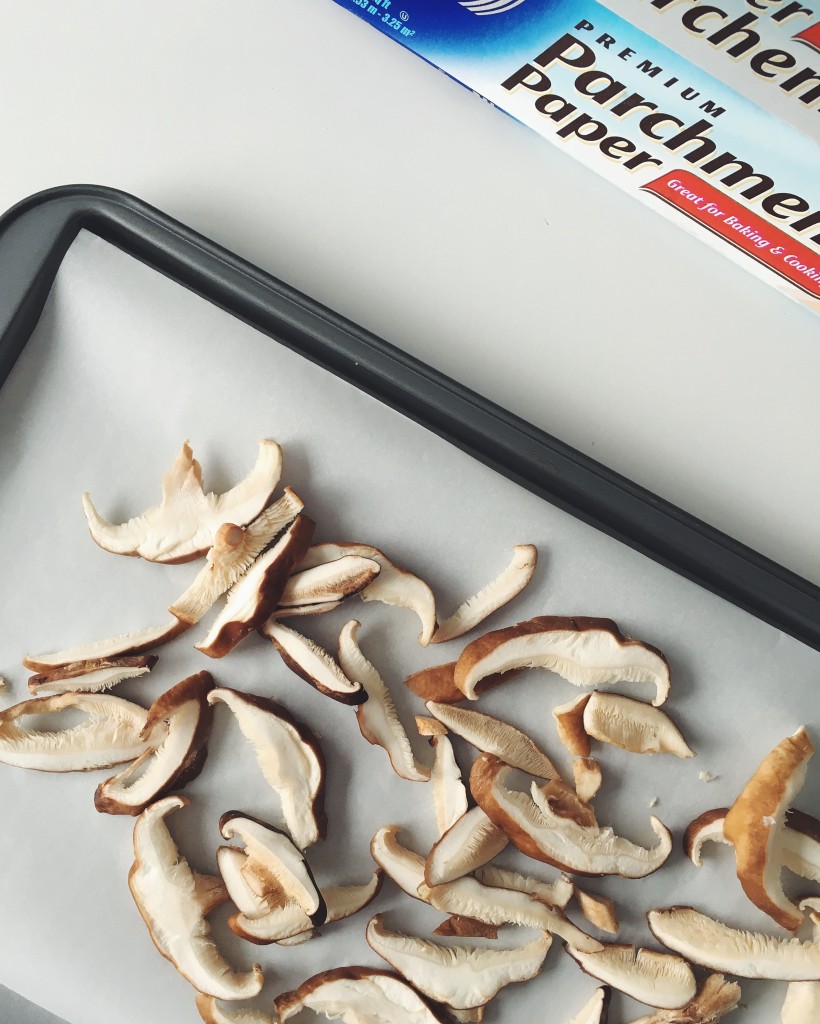
Reynolds sent me some parchment paper and foil in order to help me create some of the meals for the table. I pretty much use the parchment paper whenever I am roasting anything in the oven. Literally nothing will stick to it and it also makes cleaning up super quick.
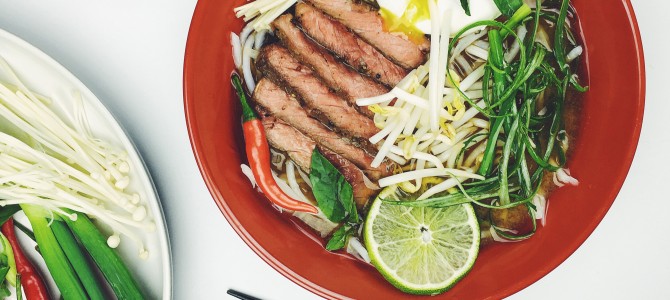
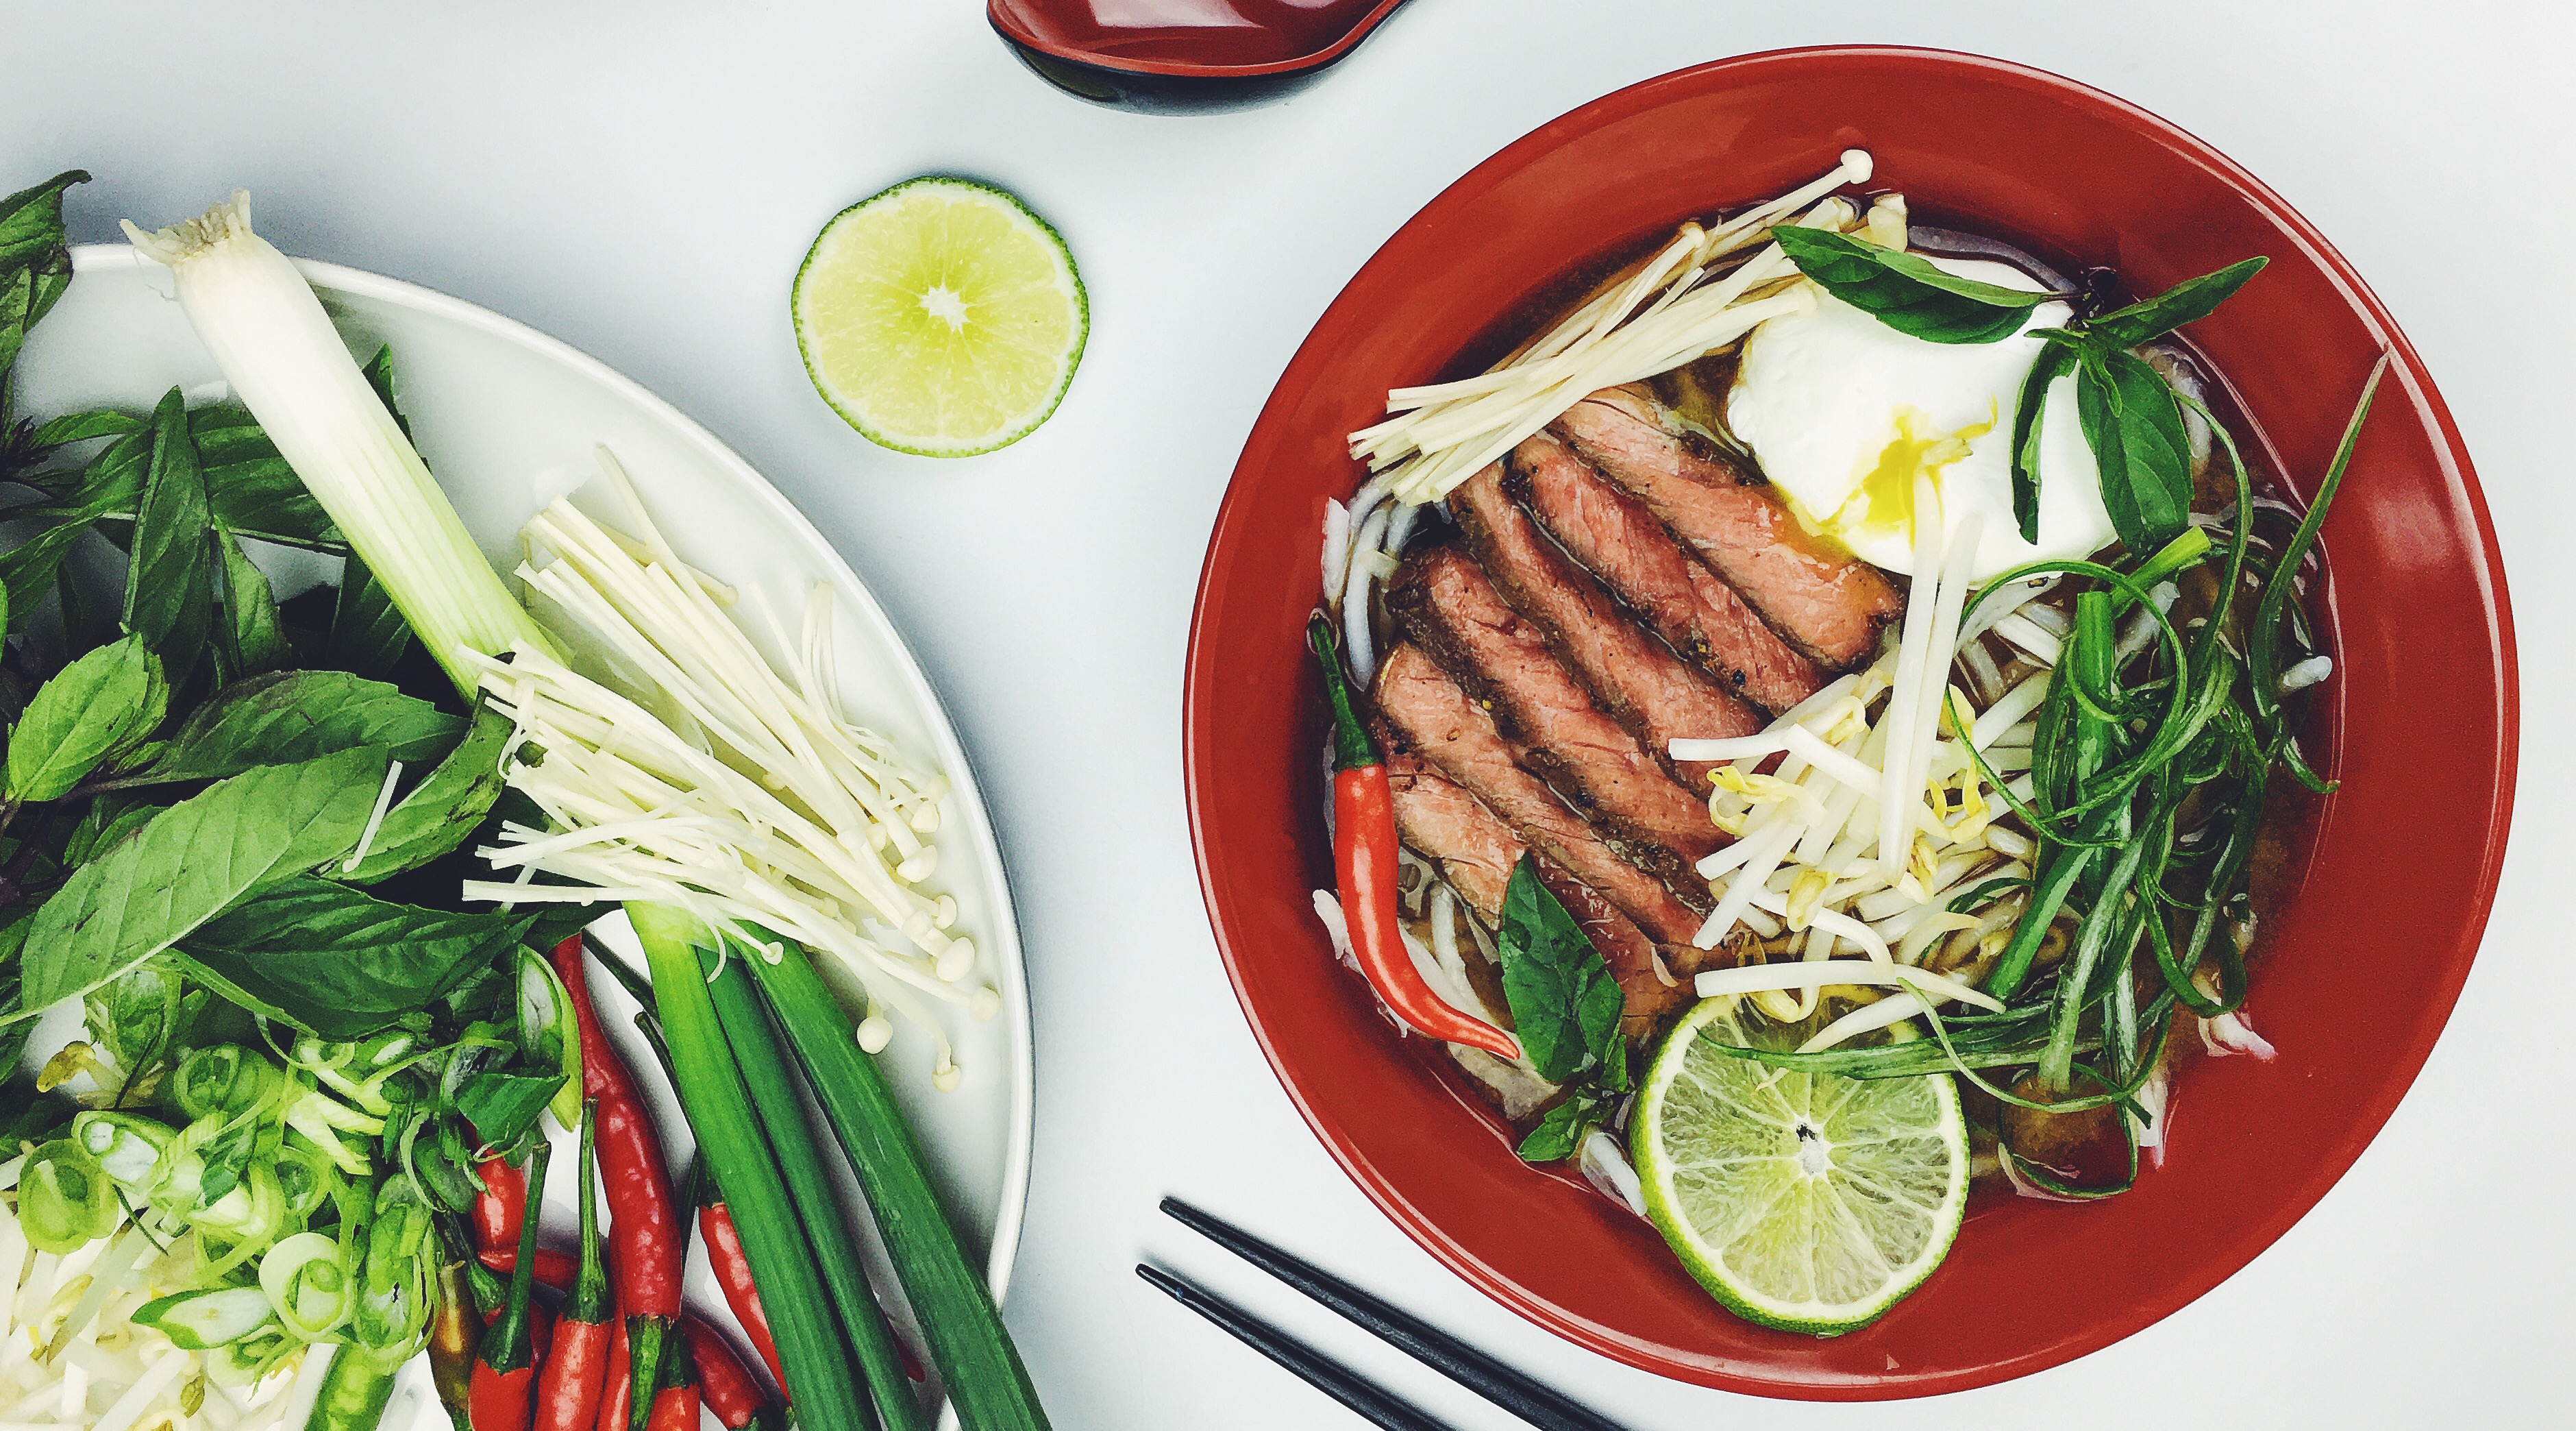
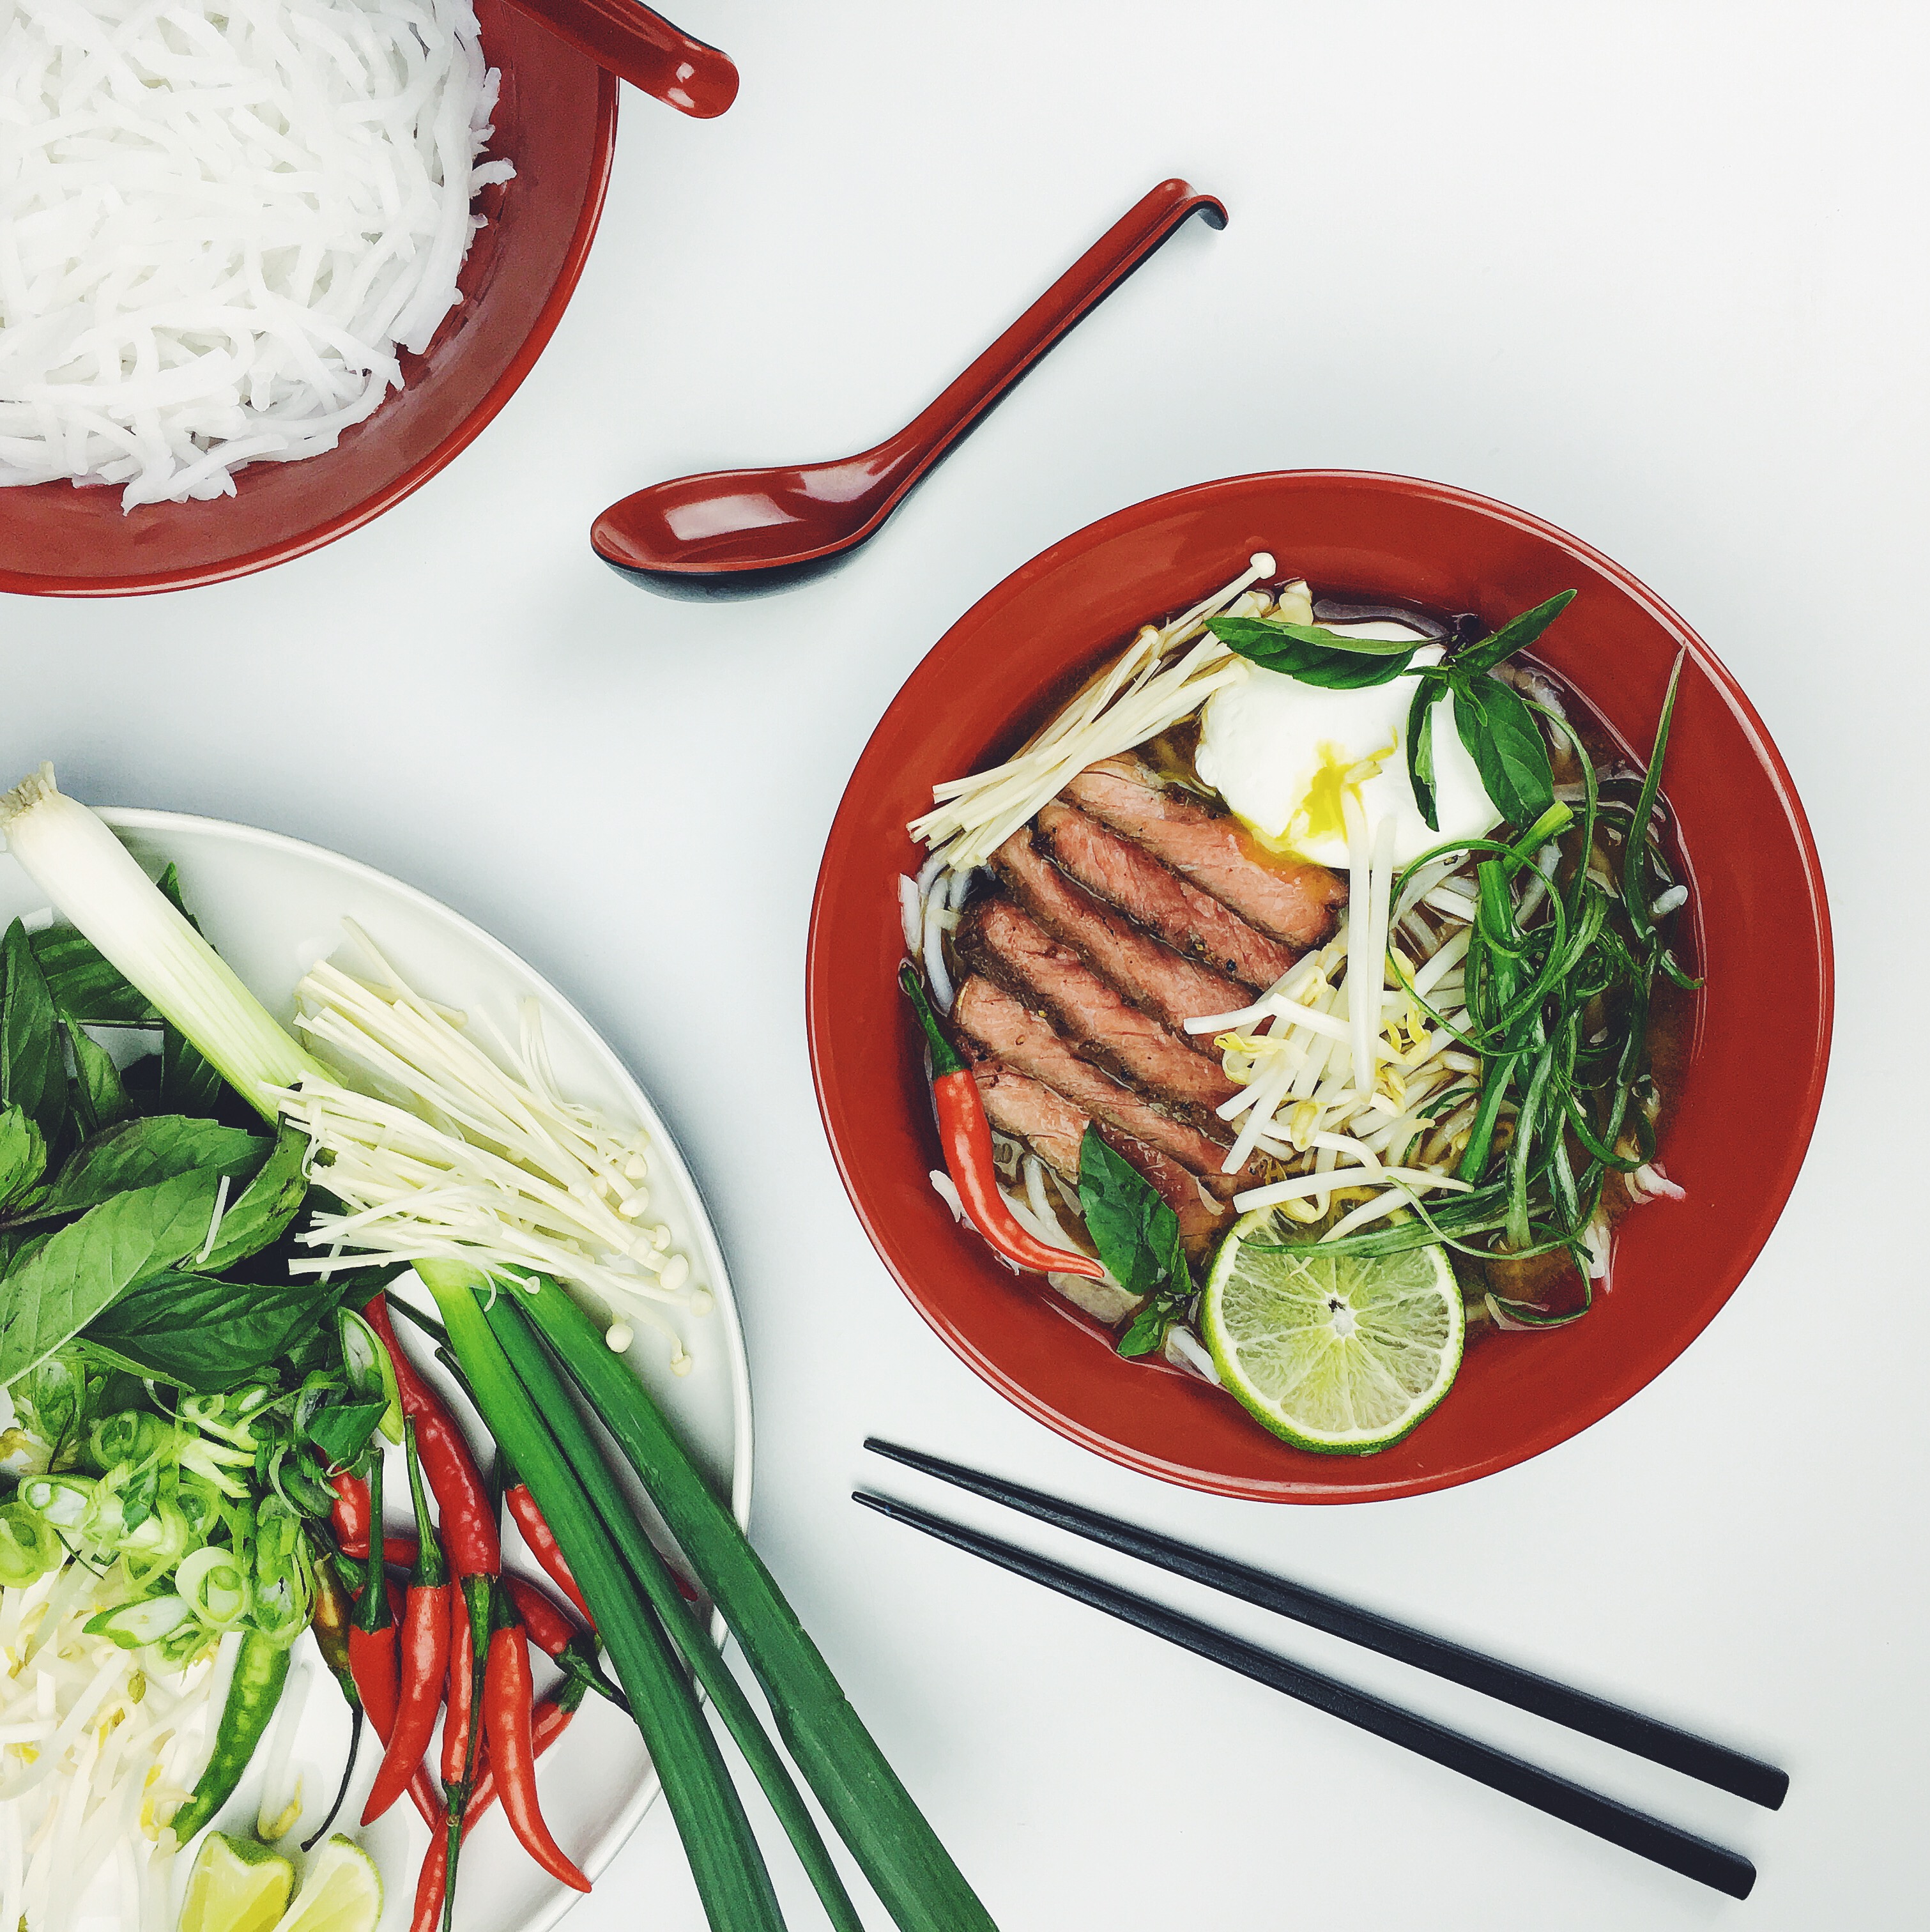
For my first recipe, I created a vegetarian miso soup with roasted shitake mushrooms and green beans. Although summer is around the corner, I love to make these Asian inspired soups all year long. They are so simple to make and there are countless ways you can change them up.
This soup makes a great lunch but is also perfect for a light dinner. I usually like to add a bit of extra heat to the soup with some sriricha right before I eat it.
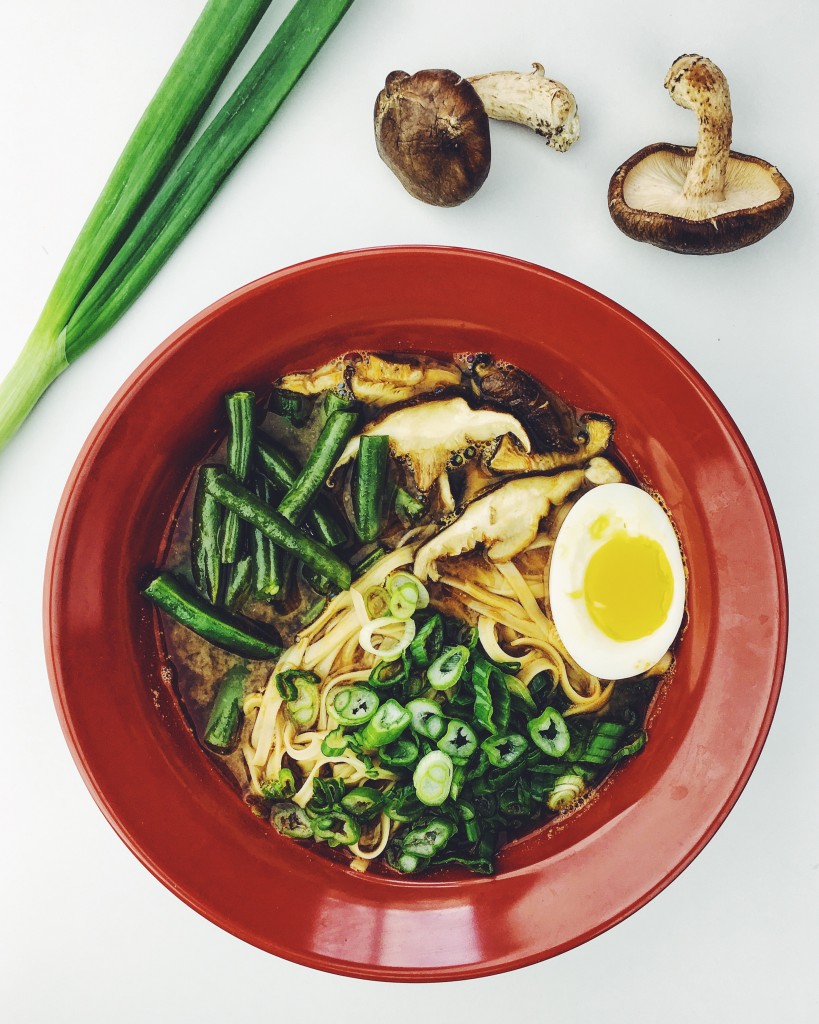
Spicy Miso Soup with Roasted Shitake Mushrooms & Green Beans
Ingredients
- 4 cups vegetable broth
- 3-4 tablespoons yellow miso paste
- 2 tablespoons hot water
- 1/2 tablespoon soy sauce
- 1/2 tablespoon rice vinegar
- 1 teaspoon sesame oil
- 1 Thai chili, scored
- 1 package (8 oz) rice noodle
- 6-8 ounces shitake mushrooms, sliced
- 6-8 ounces green beans, cut into thirds
- 1 large egg
- 2 green onions, thinly sliced
- 1 tablespoon olive oil
- 2 teaspoon sea salt
Method
- Preheat oven to 400°F and line a baking sheet with Reynolds® Parchment Paper. Place mushrooms on baking sheet and drizzle with half the olive oil and half the salt. Set aside momentarily
- Centre green beans on a sheet of Reynolds Wrap® Aluminum Foil and drizzle with remaining olive oil and salt. Fold over edges of foil to create a packet. Ensure it is tightly sealed
- Place the mushrooms and the foil pack green beans in the oven and roast for 10 minutes, stirring the mushrooms halfway through.
- Heat vegetable broth to a low simmer in a medium pot. Pour in the soy sauce, sesame oil, and rice vinegar. Add the whole Thai chili to simmering broth (this will be removed later)
- Whisk the miso paste with hot water in small bowl until smooth then add to the broth. Continue to simmer for an additional 10 minutes.
- Cook noodles according to package directions while the broth is simmering. When the noodles are done, evenly divide them into two serving bowls.
- Bring a small pot of water to a boil and carefully drop in the egg to cook for 6 minutes. Remove from water and peel.
- Divide the mushrooms and green beans between the two bowls and then pour the broth evenly between the bowls.
- Slice the egg in half and place 1 half in each soup. Garnish with sliced green onion.