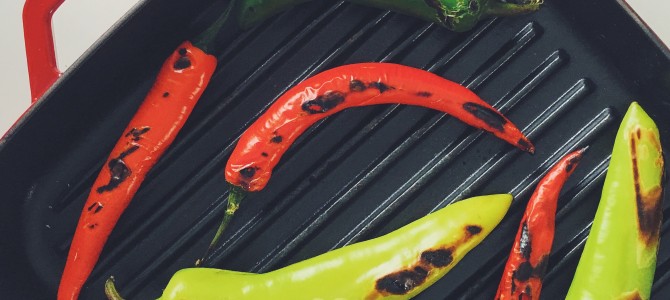
Charred and Marinated Hot Peppers
I love spicy food and lately, I’ve been playing around with different ways to use chili peppers. From spicy sauces, to pickling them, to simply thinly slicing them, there are countless ways to use chili peppers. I’ve always bought charred and marinated hot peppers but they are so easy to make at home.
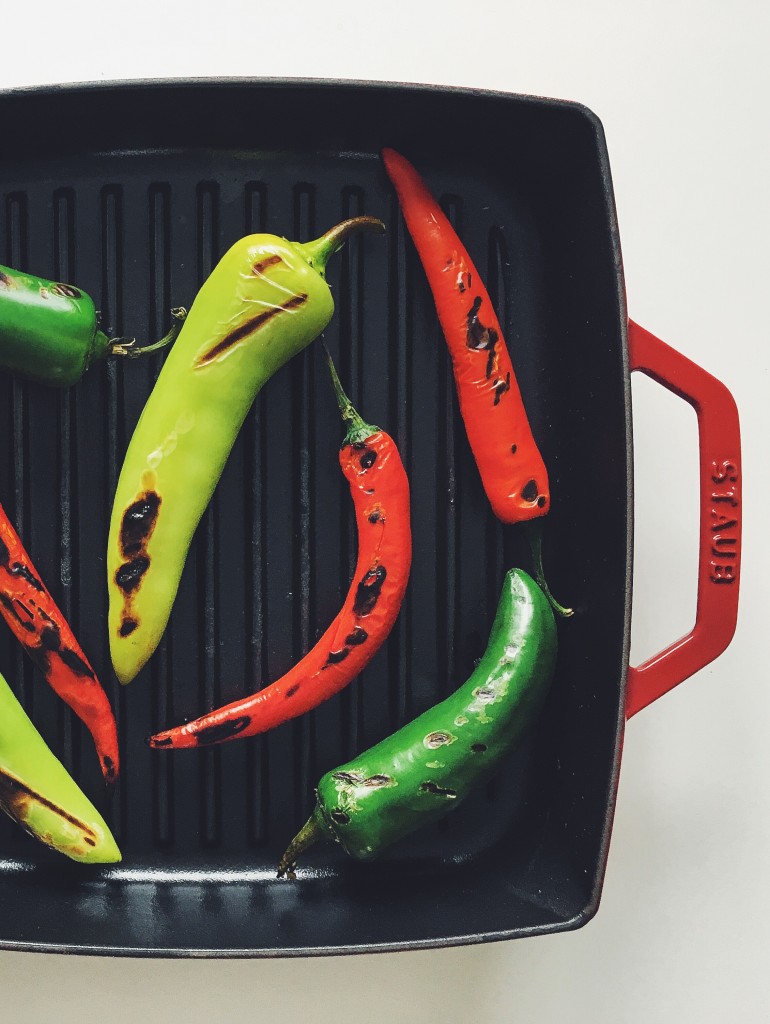
This method of charring them and then marinating them in olive oil and a bit of vinegar is one of my new favorites. It only takes a few minutes of work, but it is such a great way to add a bunch of flavor to whatever your eating.
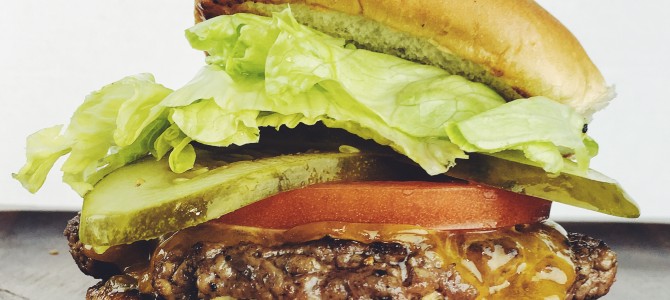
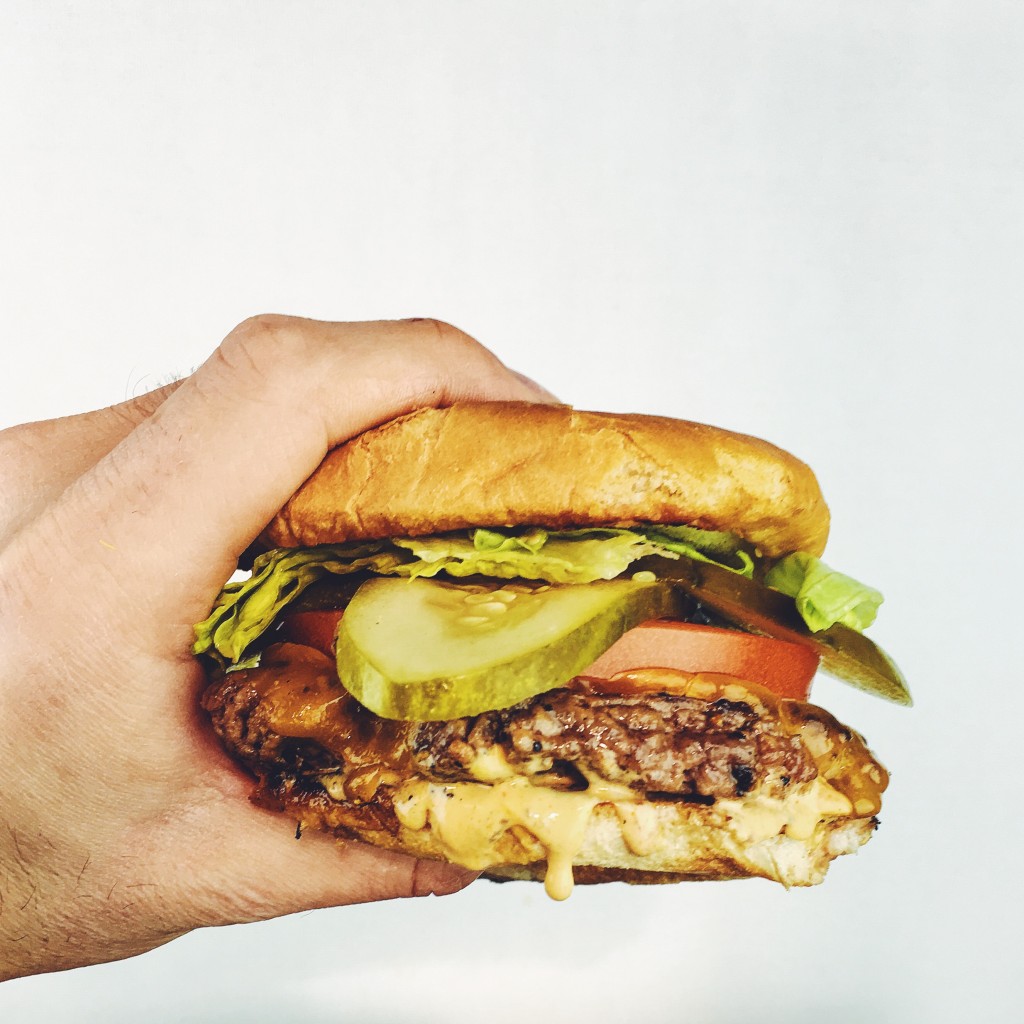
There are so many different ways you can eat these. Most recently I threw them on a burger (check out my tips for the best burger), which was of course amazing. You can also put them on tacos, eggs, salads, fish, or add them to any sandwich.
When I made these, I used a variety or peppers. I went with jalapeno, cayenne, and hot banana peppers. Feel free to use whichever combination you want and adjust based on spice preference. The marinated peppers do lose a bunch of heat after you’ve charred and sliced them; they still have a punch to them though.
Give these a try and let me know what you think!
Charred and Marinated Hot Peppers
Ingredients
- 8-10 chili peppers
- 2 tbsp olive oil
- ½ tbsp red wine vinegar
- Salt
Method
- Heat grill or pan over high heat and add the peppers. Cook peppers, turning occasionally until very charred. You will be removing the skin so don’t worry if they are black, that’s how they are supposed to be.
- When the peppers are charred, place them in a bowl and cover the bowl with saran wrap. You want them to sit in there and steam for a few minutes. This will make the skin much easier to remove.
- When the peppers are cool enough to handle, working one pepper at a time, scrape off the skin with all the charred parts using a sharp knife. Slice each pepper open and scrape out the seeds and membrane.
- At this point you can use your knife to slice the pepper into strands but I prefer to just tare it with my hands. With the skin removed, the flesh of the pepper will tear quite naturally.