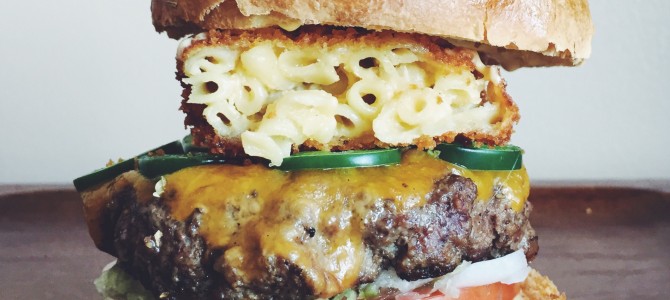
Mac and Cheese Sliders
I’ve said it before and I’ll say it again, macaroni and burgers go together like peanut butter and jelly. It’s basically the ultimate cheeseburger.
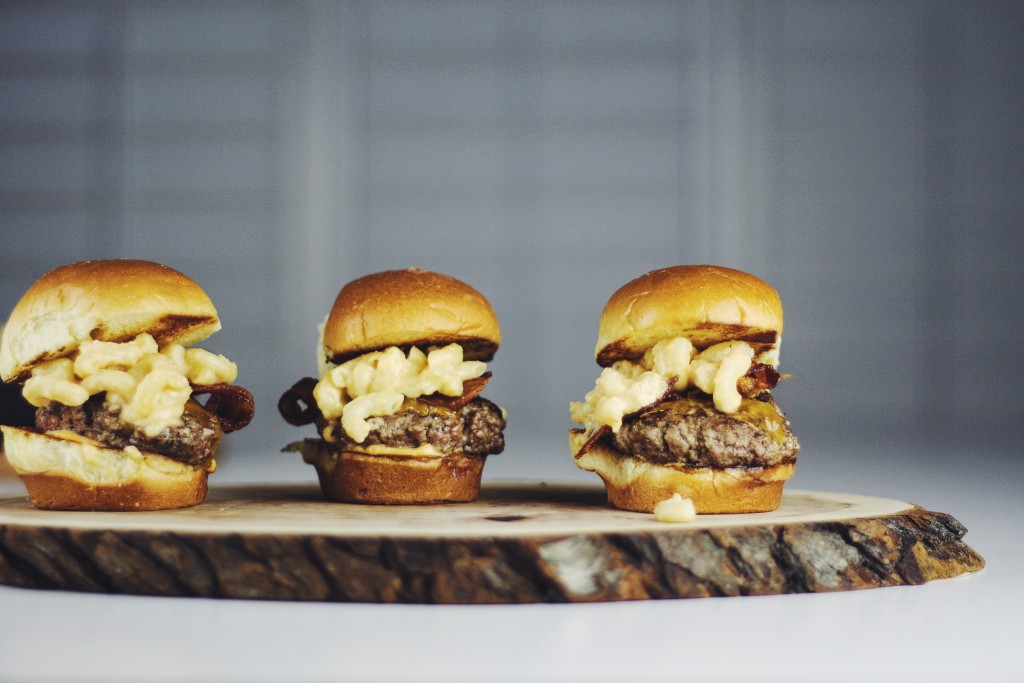
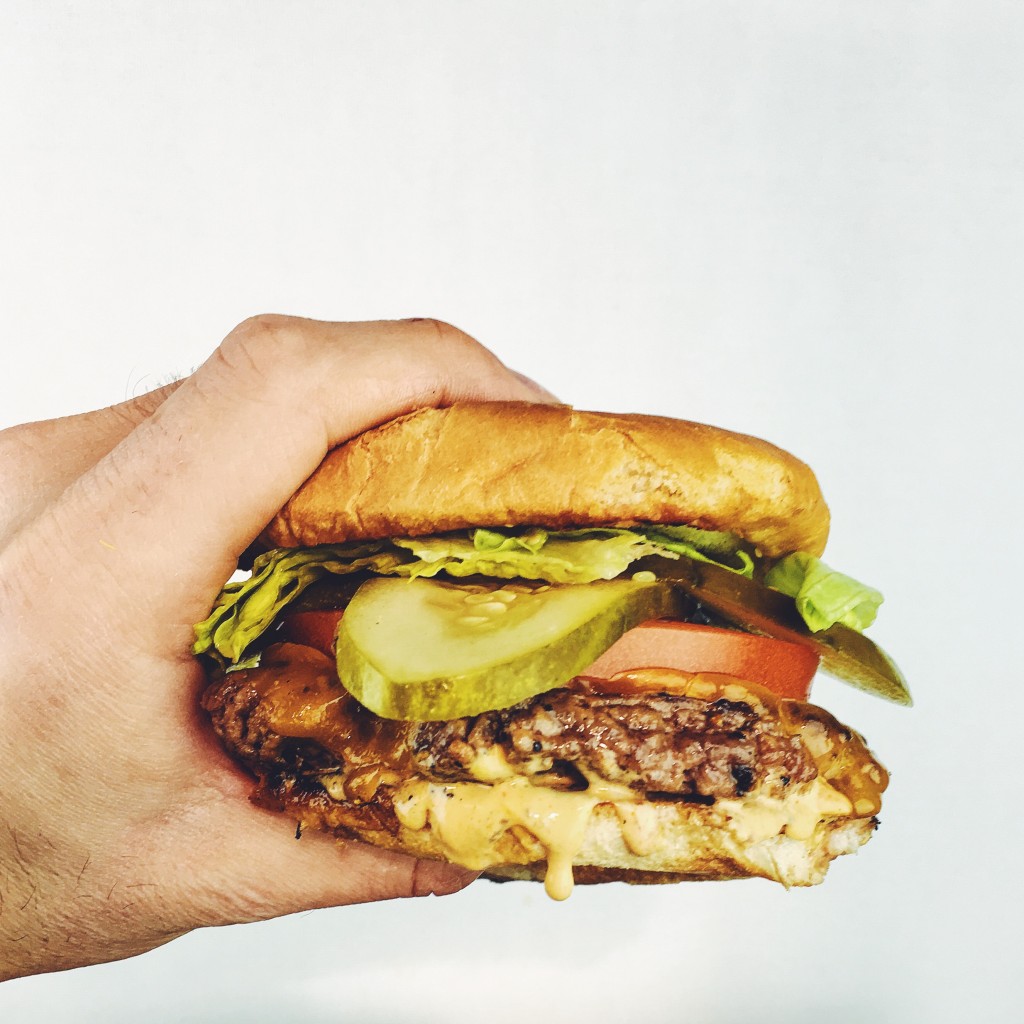
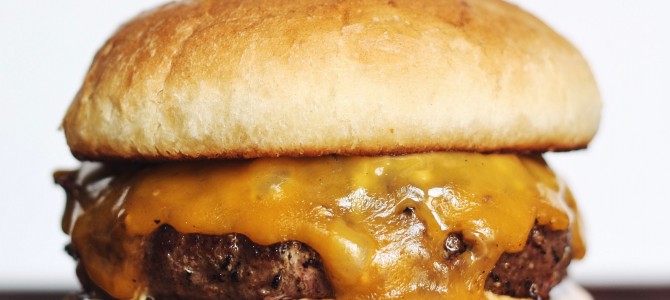
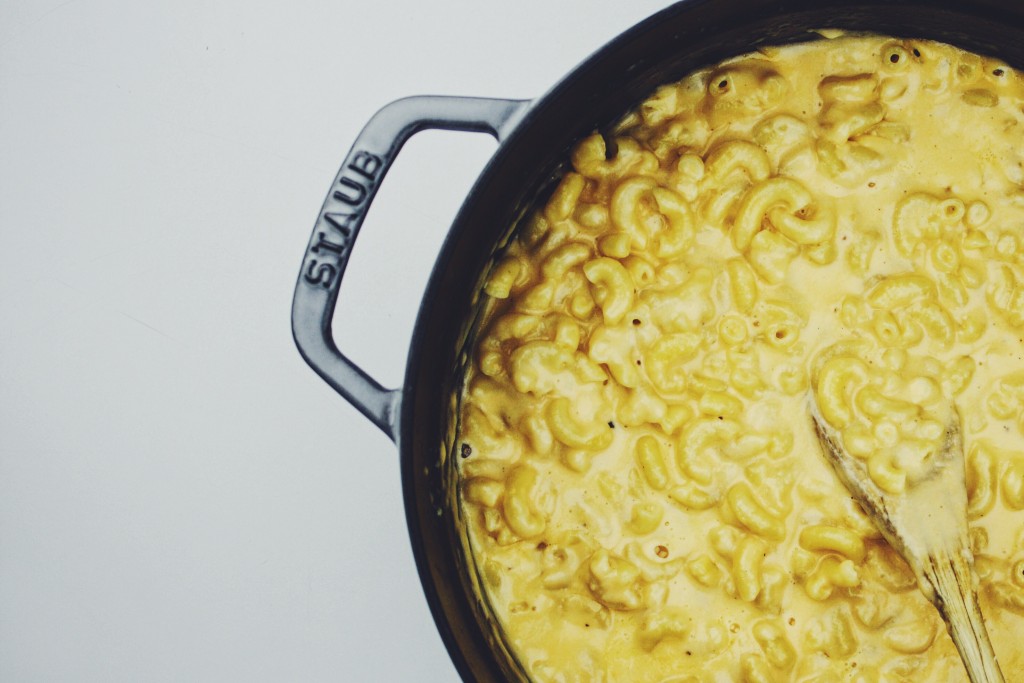
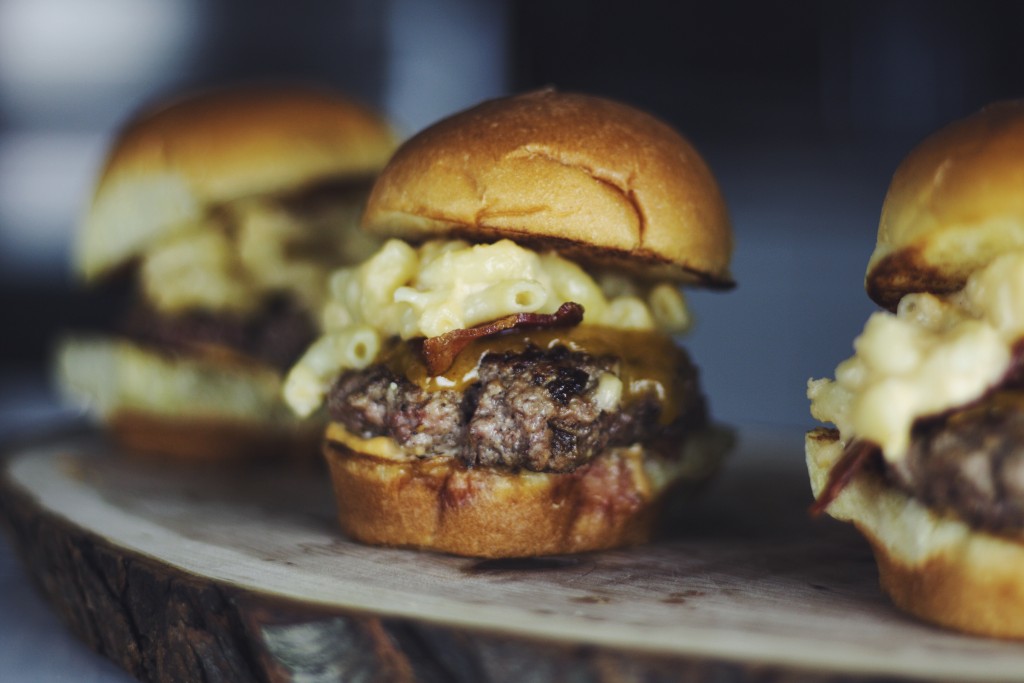
This macaroni is made with aged cheddar and gruyere, and then the slider is topped with even more cheddar, because you can never have too much cheese. The sliders definitely don’t need the bacon but it does add a nice crunch and a bit of texture. I also used Sriracha mayo for a bit of heat.
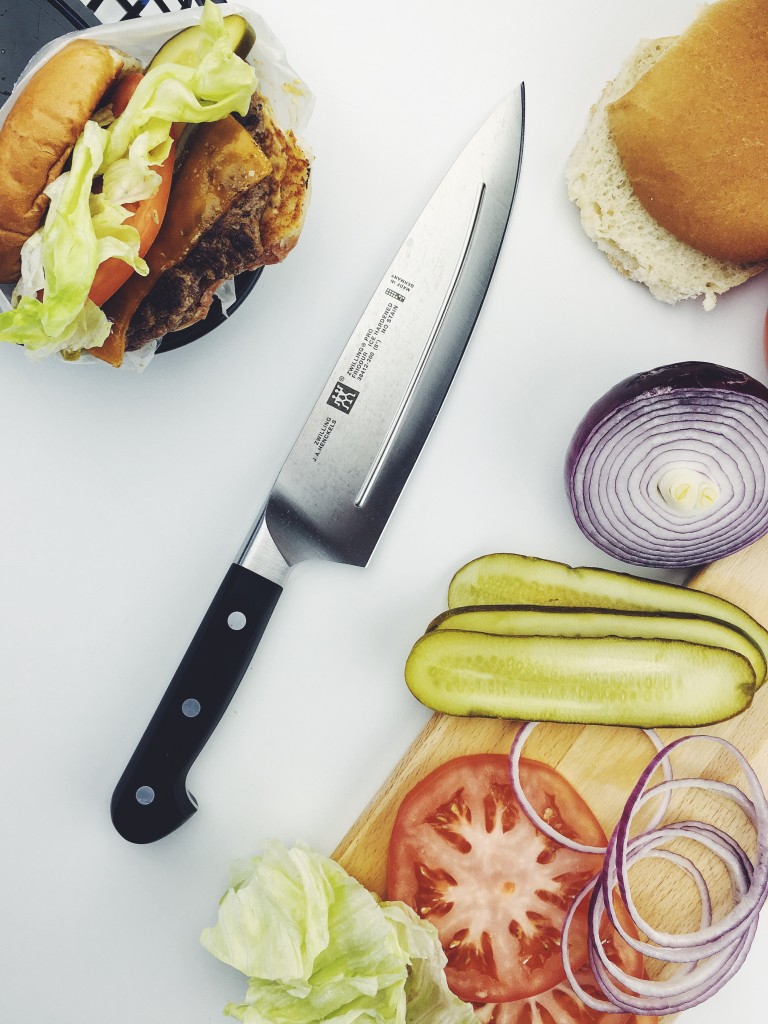
The soft and gooey macaroni, the juicy burger, and the crispy bacon all work together to form the perfect bite. I kept it pretty simple but you could also add some other toppings. Jalapeños would work well if you wanted some extra heat.
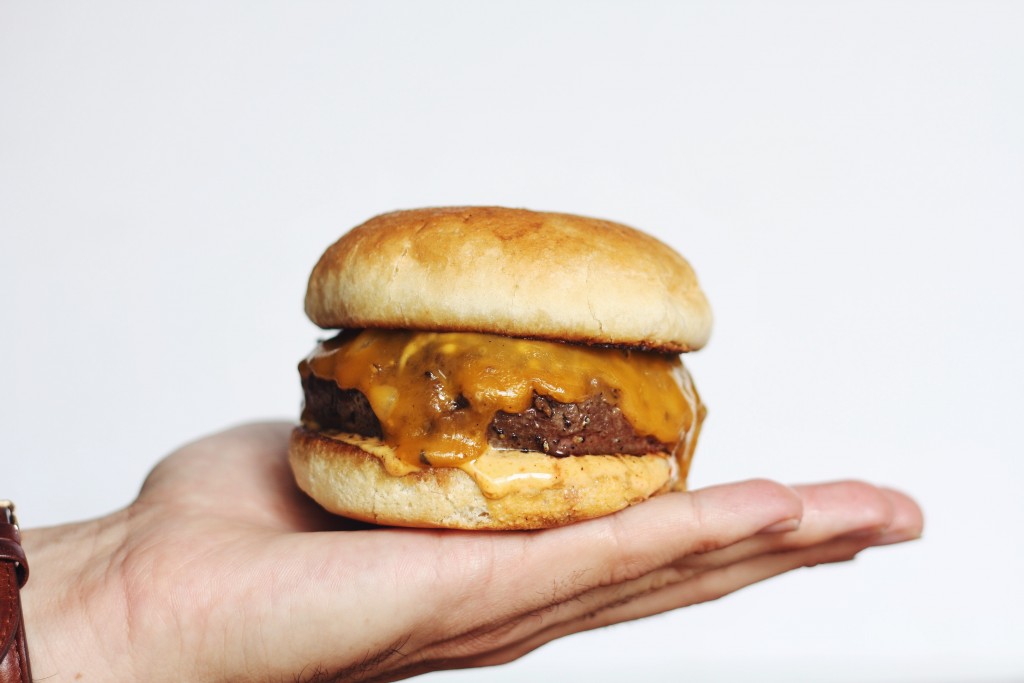
A big part of what makes these sliders so good is the buns. I went with mini brioche buns. They are so buttery and really take things to the next level. If you can’t find these don’t worry, regular slider buns will still be alright.
The macaroni recipe will make more than you need for the sliders, so feel free to half it if you don’t want a lot of leftovers. I usually like to make a big batch and freeze the extra in individual portions. It actually freezes quite well and is perfect for a quick snack.
If you’ve never tried macaroni on a burger, just trust me and give these sliders a try.
Mac and Cheese Sliders
Ingredient
For the Macaroni
- 1lb elbow macaroni noodles (1 box)
- ½ up (1 stick) unsalted butter
- 6 tbsp all purpose flour
- 4½ cups whole milk
- 6 cups shredded cheese (half cheddar, half gruyere)
- 2 tsp salt
- 2 tsp mustard powder
- 1 tsp black pepper
For the Sliders
- 1lb ground beef
- 4 slices bacon
- 2 slices cheddar cheese
- 8 slider buns
- Salt
- Black pepper
- 2 tbsp unsalted butter
- 3 tbsp mayo
- 1 tbsp Sriracha
Method
- Start by mixing the mayo with the Sriracha in a small bowl. Place in fridge until ready to build sliders.
- Preheat oven to 375°F. Place bacon on a parchment paper lined baking sheet and cook in oven for 20-25 minutes or until golden brown.
- To make the macaroni, start by cooking the noodles according to package directions – they typically take 5-7 minutes in boiling water. Set aside when ready. In a large pot over medium heat, melt butter and then add the flour. Constantly whisk until golden brown. Slowly pour in the milk while constantly whisking. Continue to stir until it comes to a boil. Reduce to a simmer and then stir occasionally until the sauce has thickened. Add the salt, pepper, and mustard powder.
- Add in the cheese in 3-4 batches stirring between each batch until the cheese is fully melted. Turn off the heat and add the cooked noodles to the pot, then stir to combine everything. At this point it may be a little wet but the sauce will continue to get thicker as it sits.
- Form the beef into 8 equal 2 oz sliders and season both sides well with salt and pepper. Heat a skillet over medium heat and melt the butter to fry the sliders. Cook for 1½ – 2 minutes per side for medium rare. Cut each slice of cheese into 4 equal squares and place them on the sliders after you flip them. In a separate skillet, melt the other half of the butter and toast the buns for about a minute or until golden brown.
- To build the sliders, spread a layer of Sriracha mayo on the bottom bun and then place on the patty. Top with half a slice of bacon and then spoon on the macaroni. Add the top bun and you’re good to go.