post

Cookies & Cream Oreo Popsicles

Cookies & Cream Oreo Popsicles

I’m so happy that summer is finally here.  There are so many thinks I look forward to making all year long and popsicles are definitely at the top of my list.  I love to try out different recipes and always seem to have a freezer full of them.  A few of my favorites from last year are my mixed berry Paletas and lemon lime creamsicles.  I even have a print of the berry paletas hanging in the kitchen.

oreo popsicles

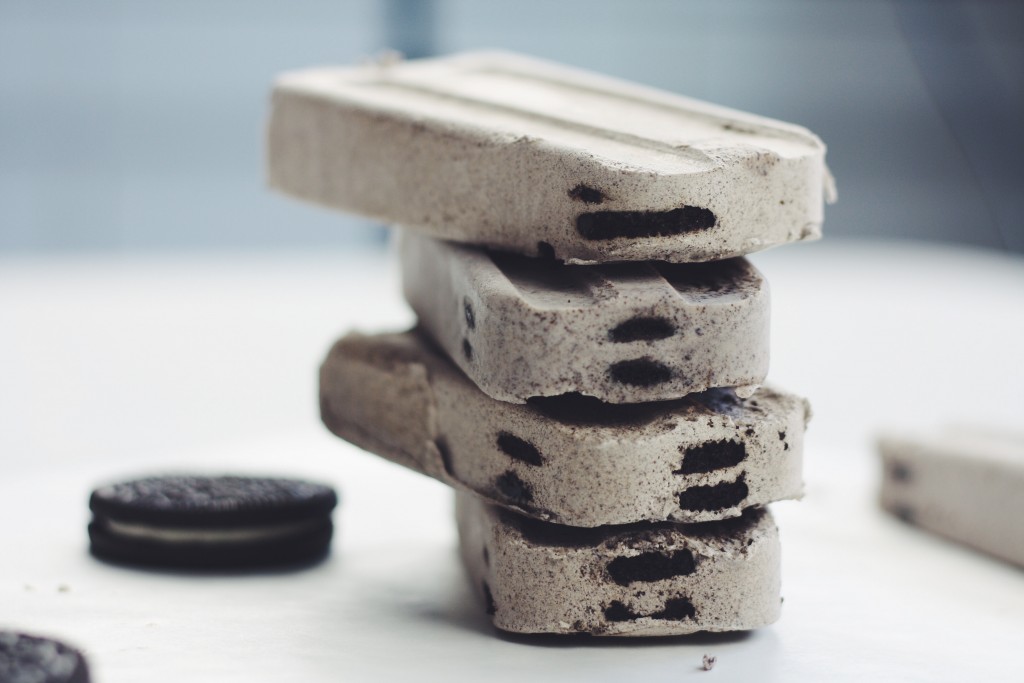
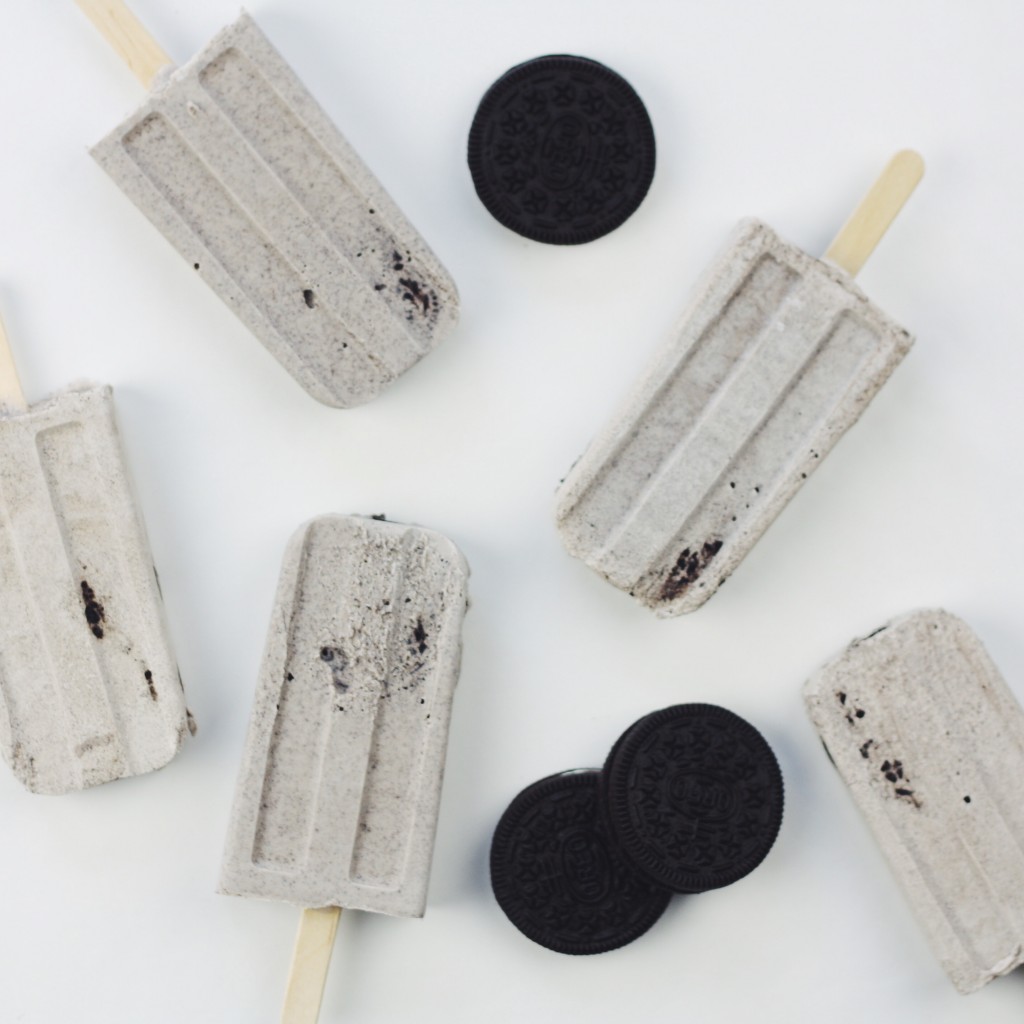
While the other popsicles are great, these Oreo ones definitely take the spot of my new favorite.  If you like Oreos, you are going to love these.  I think a big part of these is the coconut milk.  It makes such a great base and keeps the popsicles super creamy.  I find that homemade popsicles sometimes get a little too icy which isn’t so pleasant, especially if you have sensitive teeth.  I’ll definitely be experimenting with more coconut milk popsicles and paletas.

Oreo Popsicles

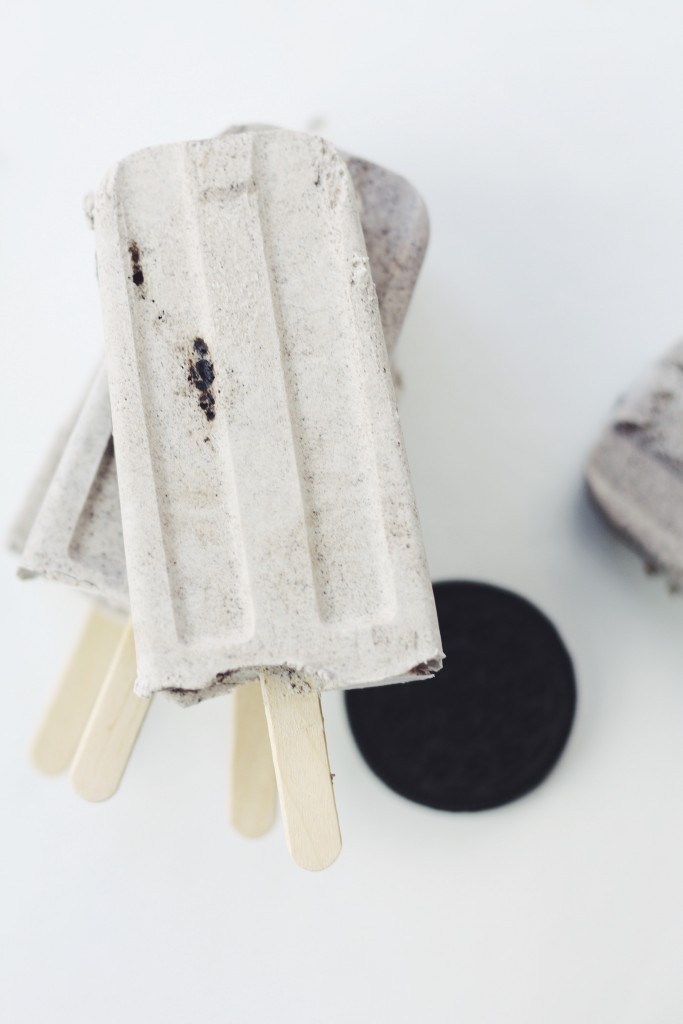
The blended in Oreos also help with the creaminess and add a “natural” sweetness so no additional sugar is needed.  I like the combination of blended Oreos along with the whole Oreo at the top but if you prefer, you could swap the whole Oreo with roughly crushed ones for a more even distribution.  I do love the way the Oreo looks at the top though; you can see the edges of it and it’s right there when you take your first few bites.

Whenever I make popsicles, I like the soak the sticks in water for a few minutes before putting them in the molds. It helps ensure a solid freeze.  Also, to get the popsicles out, run the molds under room temperature water before pulling them out.

Oreo Popsicles

Give these popsicles a try, you won’t be able to stop at just one.

Ingredients

  • 14 oreos
  • 1 can coconut milk
  • 1 tsp pure vanilla extract

Method

  1. Add 7 Oreos to your blender along with the coconut milk and vanilla.  Blend until the Oreos are chopped and the evenly combined.  Feel free to add more Oreos at this step if you want but I find that 7 is a good amount.
  2. Place one whole Oreo into each popsicle mold and top with the coconut milk mixture. Be sure to bang the molds on your counter to ensure the liquid fully surrounds the Oreos; it may take several additions of liquid to fill molds.
  3. Place popsicle sticks in molds and freeze overnight.
post

Homemade Mac and Cheese Sliders

Mac and Cheese Sliders  

I’ve said it before and I’ll say it again, macaroni and burgers go together like peanut butter and jelly. It’s basically the ultimate cheeseburger.

Mac and Cheese sliders

This macaroni is made with aged cheddar and gruyere, and then the slider is topped with even more cheddar, because you can never have too much cheese. The sliders definitely don’t need the bacon but it does add a nice crunch and a bit of texture. I also used Sriracha mayo for a bit of heat.

Mac and Cheese

The soft and gooey macaroni, the juicy burger, and the crispy bacon all work together to form the perfect bite. I kept it pretty simple but you could also add some other toppings. Jalapeños would work well if you wanted some extra heat.

A big part of what makes these sliders so good is the buns. I went with mini brioche buns. They are so buttery and really take things to the next level. If you can’t find these don’t worry, regular slider buns will still be alright.

The macaroni recipe will make more than you need for the sliders, so feel free to half it if you don’t want a lot of leftovers. I usually like to make a big batch and freeze the extra in individual portions. It actually freezes quite well and is perfect for a quick snack.

Mac and Cheese slider

If you’ve never tried macaroni on a burger, just trust me and give these sliders a try.

Mac and Cheese Sliders  

Ingredient

For the Macaroni

  • 1lb elbow macaroni noodles (1 box)
  • ½ up (1 stick) unsalted butter
  • 6 tbsp all purpose flour
  • 4½ cups whole milk
  • 6 cups shredded cheese (half cheddar, half gruyere)
  • 2 tsp salt
  • 2 tsp mustard powder
  • 1 tsp black pepper

For the Sliders

  • 1lb ground beef
  • 4 slices bacon
  • 2 slices cheddar cheese
  • 8 slider buns
  • Salt
  • Black pepper
  • 2 tbsp unsalted butter
  • 3 tbsp mayo
  • 1 tbsp Sriracha

Method

  1. Start by mixing the mayo with the Sriracha in a small bowl. Place in fridge until ready to build sliders.
  2. Preheat oven to 375°F. Place bacon on a parchment paper lined baking sheet and cook in oven for 20-25 minutes or until golden brown.
  3. To make the macaroni, start by cooking the noodles according to package directions – they typically take 5-7 minutes in boiling water. Set aside when ready. In a large pot over medium heat, melt butter and then add the flour. Constantly whisk until golden brown. Slowly pour in the milk while constantly whisking. Continue to stir until it comes to a boil. Reduce to a simmer and then stir occasionally until the sauce has thickened. Add the salt, pepper, and mustard powder.
  4. Add in the cheese in 3-4 batches stirring between each batch until the cheese is fully melted. Turn off the heat and add the cooked noodles to the pot, then stir to combine everything. At this point it may be a little wet but the sauce will continue to get thicker as it sits.
  5. Form the beef into 8 equal 2 oz sliders and season both sides well with salt and pepper. Heat a skillet over medium heat and melt the butter to fry the sliders. Cook for 1½ – 2 minutes per side for medium rare. Cut each slice of cheese into 4 equal squares and place them on the sliders after you flip them. In a separate skillet, melt the other half of the butter and toast the buns for about a minute or until golden brown.
  6. To build the sliders, spread a layer of Sriracha mayo on the bottom bun and then place on the patty. Top with half a slice of bacon and then spoon on the macaroni. Add the top bun and you’re good to go.


post

Buttermilk Bacon Pancakes with Bourbon-Maple Syrup

Buttermilk Bacon Pancakes with Bourbon-Maple Syrup

bacon bourbon pancakes

Nothing says brunch like a giant stack of pancakes. Whether you like to eat them with berries, chocolate or, in this case, bacon, pancakes are an easy way to make breakfast something special.

These buttermilk pancakes are light and airy on the inside with a nice caramelized char on the outside. They’re stacked high with crispy bacon between them and then doused in bourbon-maple syrup. I used to always cook my bacon in a pan, but ever since trying it in the oven, I haven’t gone back. There are a few reasons for this.

Firstly, it’s easier and cleaner. Secondly, I think it comes out way better; it gets perfectly crisp and doesn’t curl.

bacon

That perfect bacon is one of the things that make these pancakes so great. The other? Bourbon. These pancakes are basically just an excuse to start drinking before noon. The syrup is made by combining some maple and a little (or a lot) of bourbon. While you’re at it, you might as well throw a little in your coffee too.

bacon pancakes


Ingredients

  • 2 cups all-purpose flour
  • 2 cups buttermilk
  • 2 large eggs
  • ¼ cup sugar
  • 4 tbsp (half a stick) unsalted butter
  • 2½ tsp baking powder
  • 1 tsp baking soda
  • 1 tsp salt
  • 1 tsp vanilla
  • Vegetable oil, for skillet
  • 8 slices of bacon
  • 1 cup maple syrup
  • 1/3 cup bourbon

Method

  1. Start by melting the butter in a microwave safe bowl or in a small pan on the stove. Allow it to cool off a little while you prep the rest of the ingredients. In a large mixing bowl, whisk together the flour, sugar, baking powder, baking soda, and salt. In a separate mixing bowl, whisk together the eggs, buttermilk, and vanilla.
  2. When the butter has slightly cooled mix it in as well. Pour the wet ingredients into the dry ingredients and whisk together just until combined. The batter will be clumpy but that’s what you want. In order to get a light and airy pancake, it’s important not to over-mix the batter. Place the batter in the fridge until ready to cook the pancakes.
  3. To make the syrup, combine the bourbon and maple syrup in a small saucepan. Bring to a boil and then turn the heat to low. Allow it to simmer until slightly thickened, this will only take a few minutes. Turn off the heat until ready to use.
  4. Get the bacon going before you move on. Lay the bacon on a baking sheet lined with a wire rack or parchment paper and place into oven set to 375°F. Don’t worry about it being preheated first. Allow the bacon to cook 20-25 minutes or until crisp to your liking.
  5. Remove batter from fridge and heat a large skillet or griddle on medium heat. Brush with vegetable oil and spoon on batter in about 1/3 cup portions. The pancakes only take 1-2 minutes per side. When the tops start bubbling, it’s time to flip. If not eating right away, you can keep them warm in a low oven.
  6. Serve with the bacon and bourbon maple syrup. This would also be a great place to use Candied Bacon Butter.