post

Cheesy Scalloped Potatoes (Au Gratin)

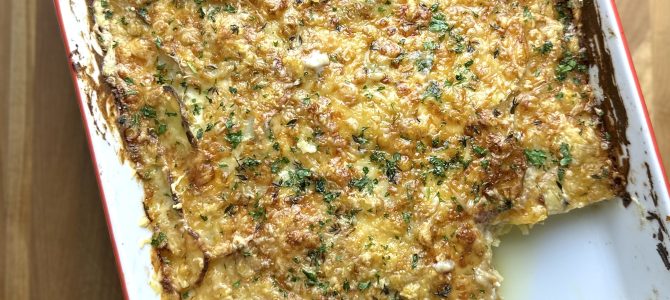
These cheesy scalloped potatoes (also known as au gratin) are one of the most comforting and satisfying things you can make. They’re a perfect side to any steak dinner, and also make for a show stopping presentation for dinner parties or holidays. It’s easy to prep in advance with basic ingredients that you probably already have on hand.

Ingredients

  • 3 lbs Yukon gold potatoes
  • 3-4 large onions
  • 1/4 cup butter (half a stick)
  • 1/4 cup flour
  • 2 cups whole milk
  • 1 cup chicken stock (substitute for vegetable stock to make dish vegetarian)
  • 2 cups shredded cheese (I used equal parts gruyere, emmenthal and cheddar)
  • 2 sprigs of thyme
  • fresh herbs for garnish
  • salt and pepper to taste

Method

  1. Start by evenly slicing, and then slowly caramelizing all the onions over low heat until deeply browned. I like to do this step in advance and then store the caramelized onions in the fridge until ready to be used.
  2. Melt the butter over medium-low heat, and then stir in the flour. Constantly stir for 2-3 minutes until golden brown. Slowly whisk in the milk and chicken stock, stirring constantly. Season with salt and pepper and add the thyme. Allow to simmer over low heat for about 5 minutes until thick. You’ll know it’s ready when the roux coats the back of your spoon. Remove thyme, and take off the heat. Add half the cheese and stir until melted. Set aside while you prepare the potatoes in the next step
  3. Preheat oven to 350°F. Use a mandoline to evenly slice the potatoes into very thin disks. Grease a 9″x13″ baking dish and then evenly layer the potatoes, overlapping as you go. After each layer, brush on a coating of the cheesy roux, and top with caramelized onions in even dollops. Continue until all the potatoes are used, and then top with a final layer of roux, evenly pouring on any remainder. Cover baking dish with foil and bake for 1 hour.
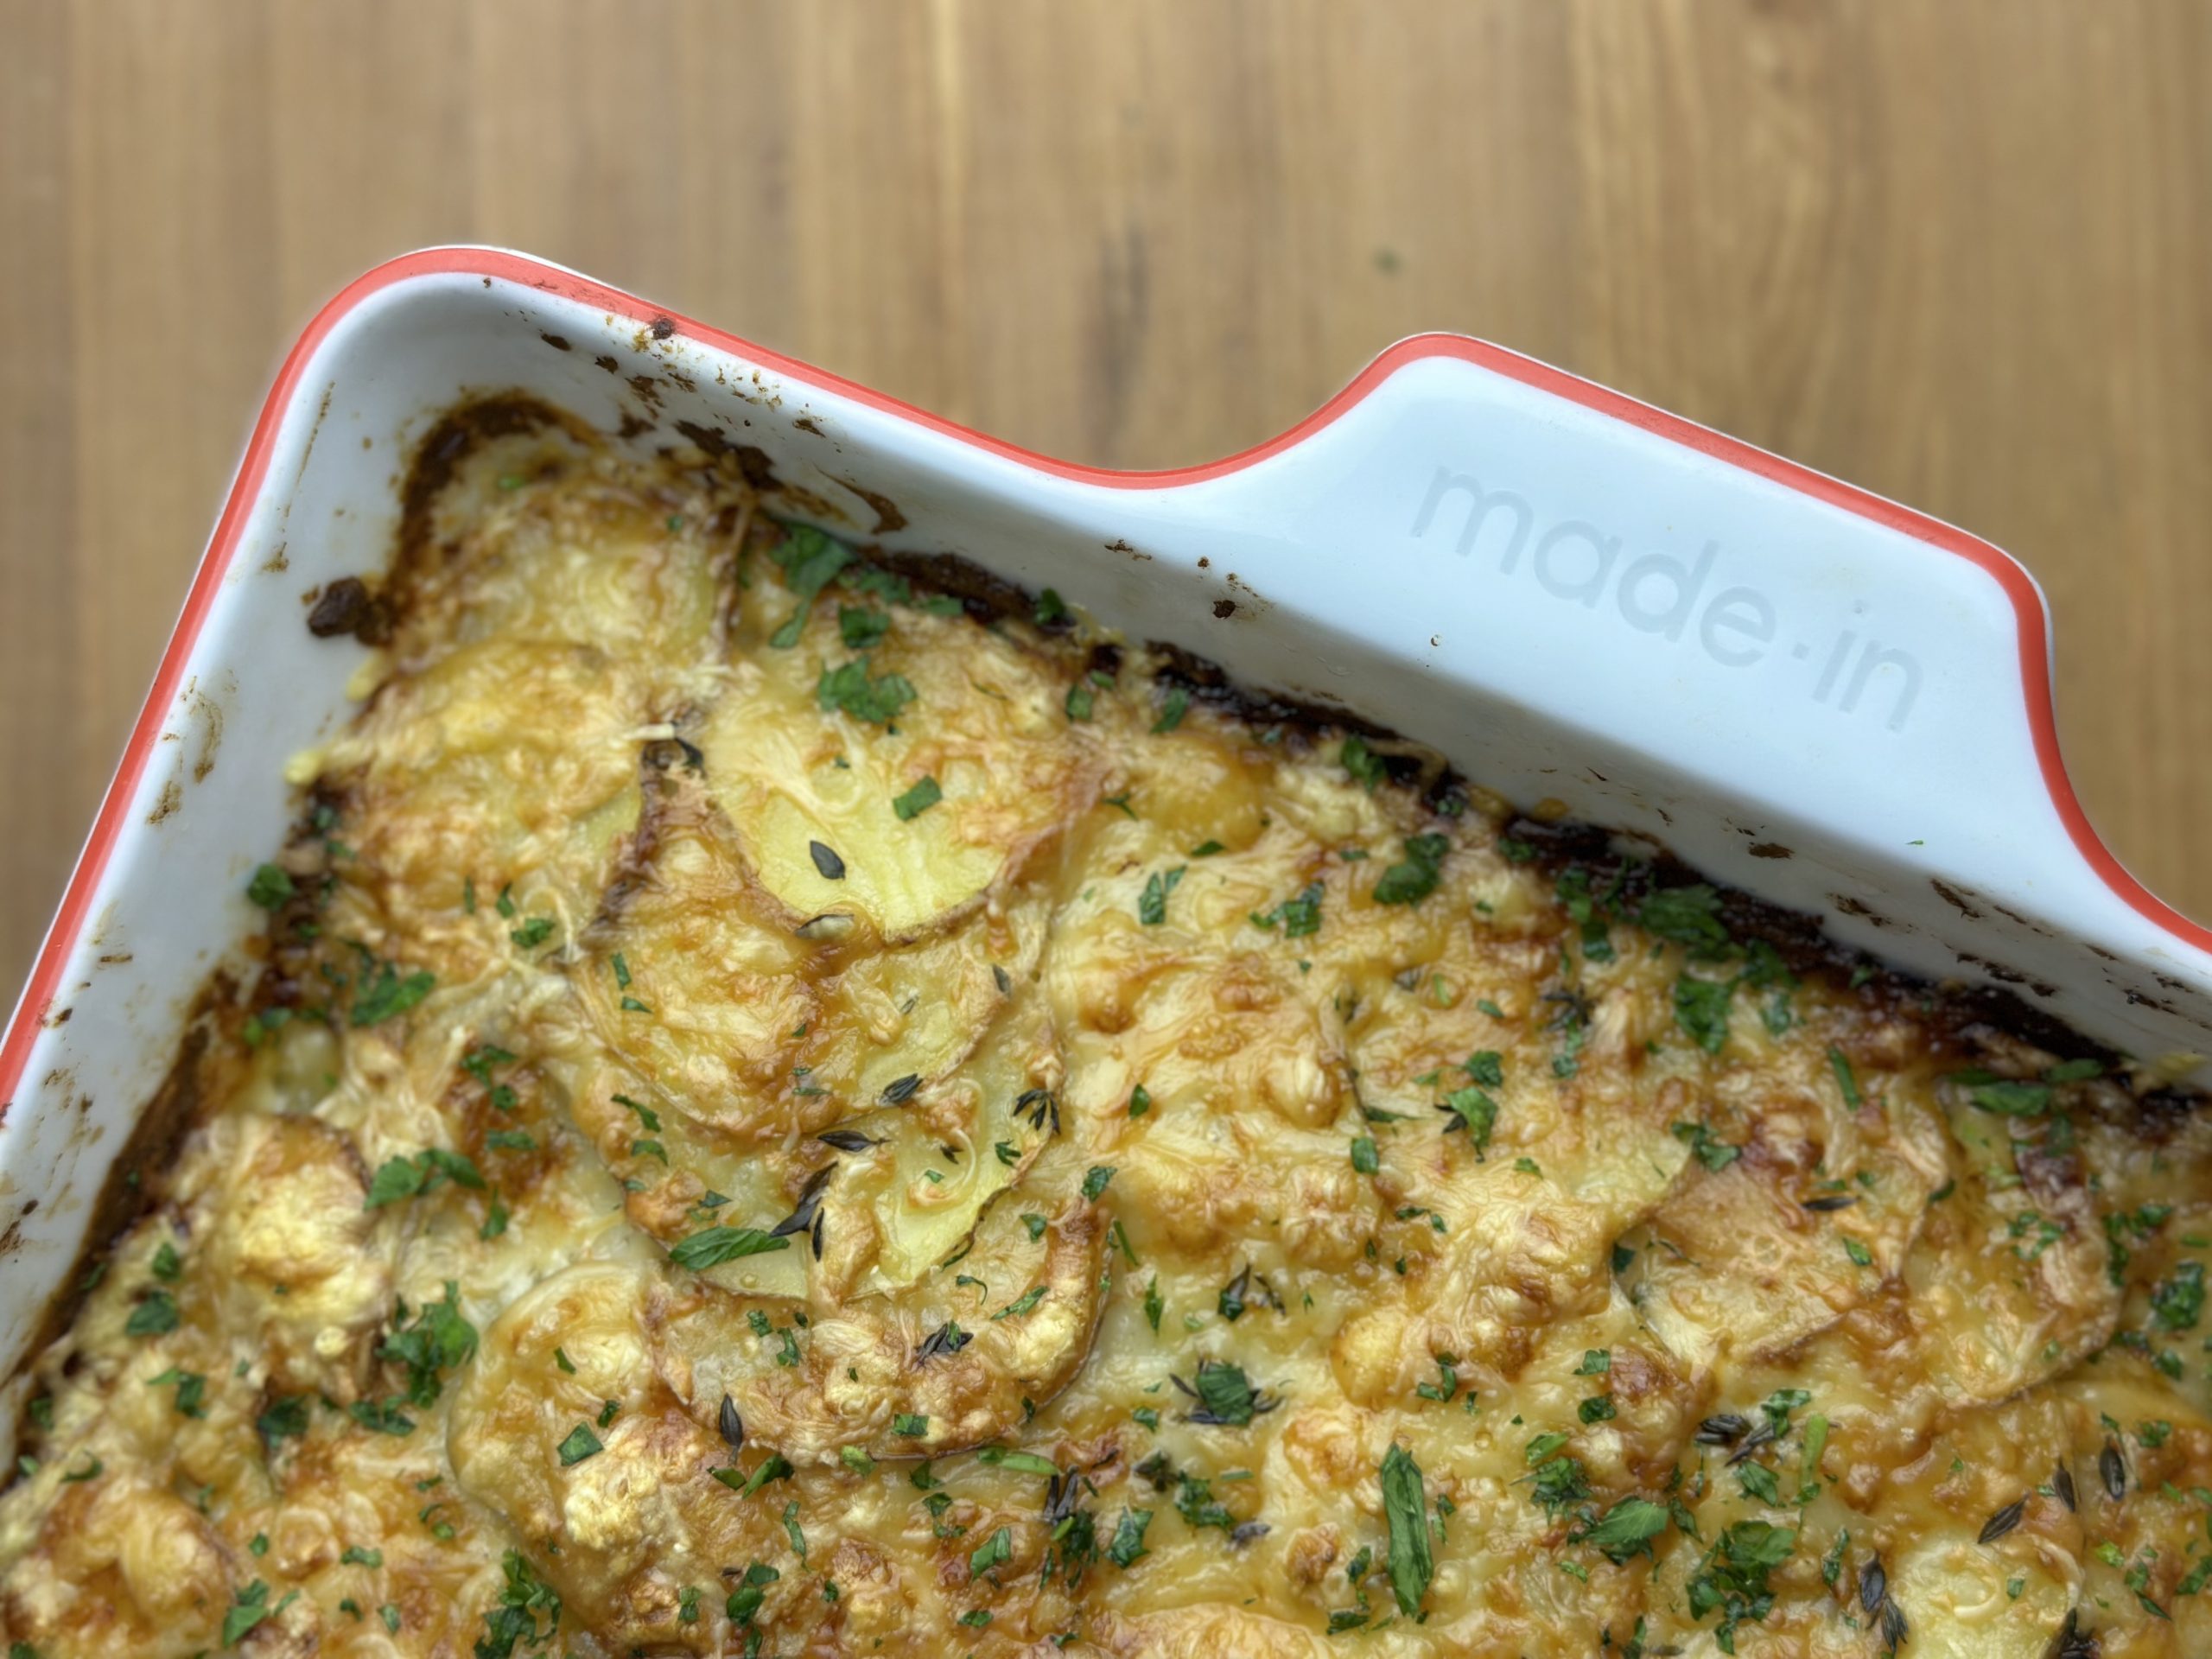
  4. At this point, you can either store in the fridge until you are ready to serve, or continue baking to finish the potatoes. When ready to finish top the potatoes with the remaining cheese, and increase your oven to 450ºF. Bake uncovered for 10-15 minutes until cheese is bubbling and potatoes the top layer of potatoes are starting to crisp. Depending on your oven, you may need to broil for a few minutes.
  5. Allow the potatoes to rest for at least 15 minutes before slicing and garnish with freshly chopped parsley or chives.
post

Smoked Beef Cheek with Ancho Chili Coffee Rub

Beef cheek is an often under utilized cut of meat. Due to the pronounced lines of collagen that run through beef cheek, it needs to be slowly cooked over a long period of time to ensure the connective tissue breaks down. Smoking, braising, or cooking sous-vide are ideal for preparing beef cheeks. You can slice it thick like a brisket, or shred it apart, making it ideal for tacos or bbq platters.

Ingredients

  • 2lb beef cheek
  • 3 tbsp ground coffee
  • 2 tbsp kosher salt
  • 2 tbsp ancho chili powder
  • 1 tbsp brown sugar
  • 1/2 tbsp paprika
  • 1 tsp cinnamon
  • 1 pinch Mexican oregano

Method

Pre-heat your smoker to 250°F

Combine all the seasoning to form your coffee rub and generously season the beef cheeks on all sides. Once your smoker is to temperature, cook beef cheeks until an internal temperature of approximately 160°F. When the meat hits 160°F, individually wrap the beef cheeks in butcher paper or heavy duty aluminum foil. Continue to cook until an internal temperature of 210°F. Allow steam to escape the butcher paper, and then rest the beef cheeks covered for at least 30 minutes before slicing or shredding. Total cooking time can range from 8-10 hours.

To make beef cheek tacos, simply pile the shredded meat onto tortillas and top with your favorite salsa, hot sauce and a squeeze of lime.

Tip

  • I highly recommend the use of a good meat thermometer when smoking meats like beef cheek. Always cook to temperature and time your meals accordingly. I use the MEATER wireless thermometer for all my cooks. Shop MEATER with 10% off in Canada here and in the US here.

post

Chili-Lime Chicken Wings

This crowd pleasing chili-lime chicken wings recipe only uses a handful of ingredients and is easy to prep in advance, perfect for game-day.

Ingredients

  • 2 lb chicken wings
  • 1/4 Traeger chili & garlic rub
  • 1/4 cup Valentina hot sauce
  • 3 tbsp butter
  • 1 lime
  • Maggie Seasoning
  • 1 green onion, thinly sliced
  • Oil for frying

Method

Start by heavily seasoning the wings and allowing them the cure in the fridge for several hours and up to overnight. The cure is optional, but will help draw out excess moisture, resulting in a crisper crust and juicer wing.

I like to cook these in a smoker, but this recipe also works in an oven. Pre-heat your smoker to 225°F and cook wings for 3 hours. At this point you can either fry your wings right away, or store the wings in the fridge or freezer until ready to serve. When ready to fry, heat oil to 375°F and drop in wings for 1-2 minutes until golden and crispy.

To make the sauce, gently heat the valentina and whisk in butter until combined. Squeeze in the half the lime and season with a dash of Maggie.

Toss wings in the sauce along with the sliced green onion and serve hot, with additional lime.

Tips

  • Feel free to adapt this recipe and substitute in your favorite Mexican hot sauce. I like extra hot valentina, but Cholula and Tapatio also make great choices.
  • If you don’t have Maggie seasoning, you can either omit, or replace with a dash of Worcester sauce.
  • The wings can be smoked/baked in advance, and then frozen in large batches for easy prep when ready to serve. The wings can be fried from frozen.
  • If baking in the oven, add a dash of liquid smoke to replicate that wood-fired flavor.