Sous Vide Rack of Lamb

Sous vide cooking is becoming more and more popular with home cooks all the time. I’ve been using it for about 2 years now and just in that time, I’ve seen a huge amount of growth in it. I actually recently read an article on Buzzfeed that included Sous Vide as a cooking trend for 2017 so we’ll see how that plays out.
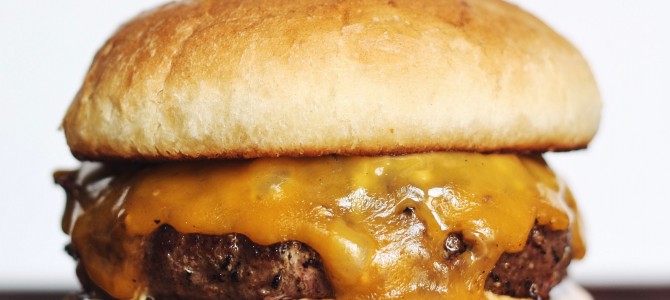
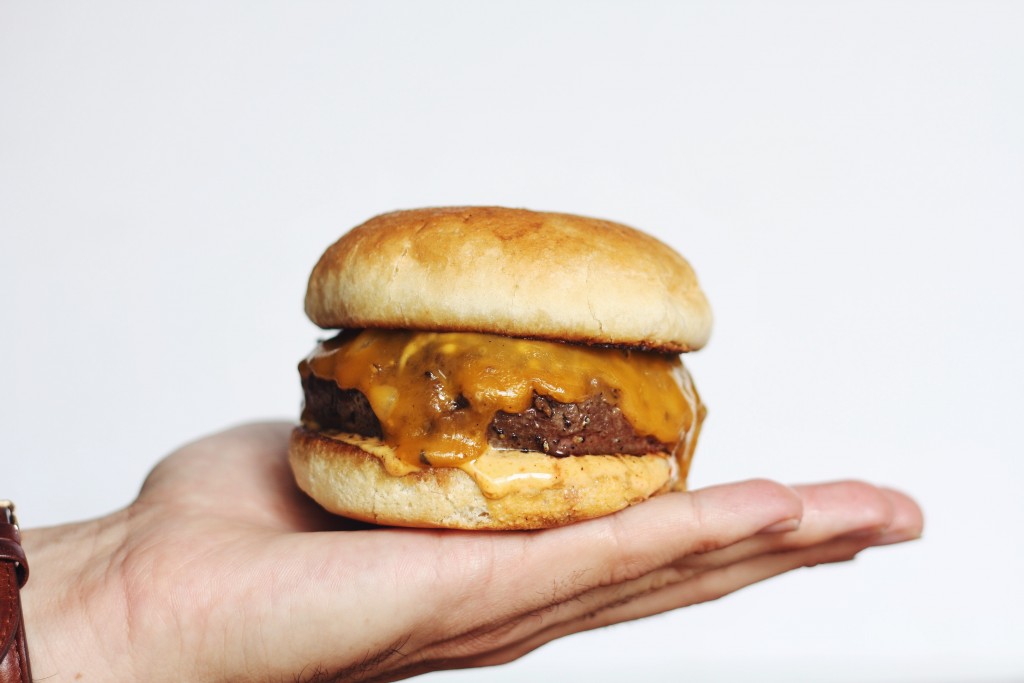
I’m not really surprised in it’s popularity at all. It’s such a great way to cook and ensure you get perfect and delicious results every time. I mostly use it to cook steak but there are so many different things you can cook sous vide. Lately I’ve been doing a lot of burgers with it as well. The appliances are also becoming more and more affordable with many different brands selling immersion circulators. I use the Nomiku and if you are thinking of purchasing one, feel free to use my code “thechefdan” for a special discount on their website here.
On to the lamb. I think for a lot of people, cooking a rack of lamb can be a little intimidating. It’s not particularly hard, but I can definitely see why that perception exists. It’s a lot of pressure and is something that you don’t want to screw up. The same is true of any large roast, especially an expensive cut like rack of lamb. But when using Sous Vide, you don’t have to worry about screwing up the meat. You just set the water to your desired temperature, and can be confident that the meat will perfectly cook.
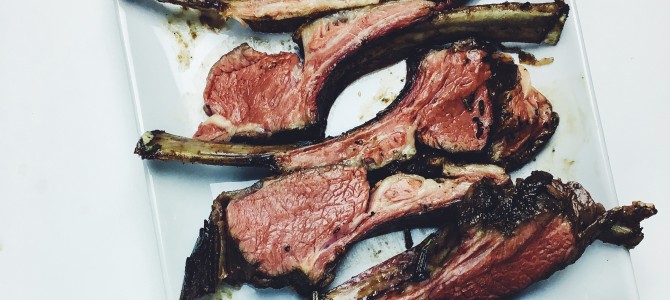
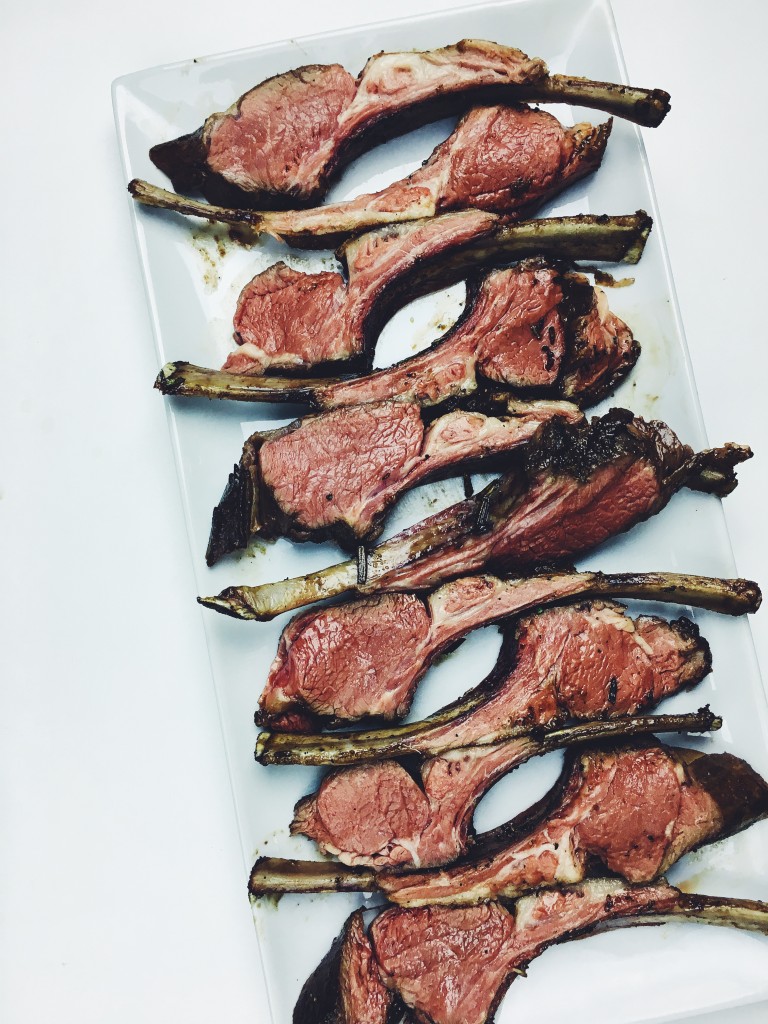
If buying the lamb at your butcher, ask them to french the rack of lamb. This involves trimming most of the meat and fat between the bones to expose them. If the lamb is already prepared in a grocery store and packaged, don’t worry if there is a bit of fat left on the bones, I actually prefer a little bit of fat left on anyway as you can tell from the pictures.
As far as the timing goes for cooking the lamb, I usually like to leave my meat in the water bath for a longer, rather than shorter time. For a full rack like this, I would suggest anywhere from 4-8 hours. It won’t cook past your desired temperature but it will become more tender as it cooks longer. I also like my lamb around medium rare and find that 131°F is the perfect temperature but feel free to go higher or lower depending on your preference.
If you’re into cooking Sous-Vide, you’ve probably noticed a lot of recipes involve shocking the bag in ice water after it’s done. If you’re searing your meat right away, this step is optional but I still tend to do it as it cools the meat down and ensures you don’t continue to cook it when searing. If you plan to sear the meat at a later time, shocking in ice water is intended to quickly chill the meat down to a safe temperature before putting it in the fridge.
When searing my Sous-Vide meat, I always use a cast iron skillet and lots of butter. You can use any high-heat oil as a substitute and if you don’t have a cast iron skillet, you can use a bbq or do it under the broiler.
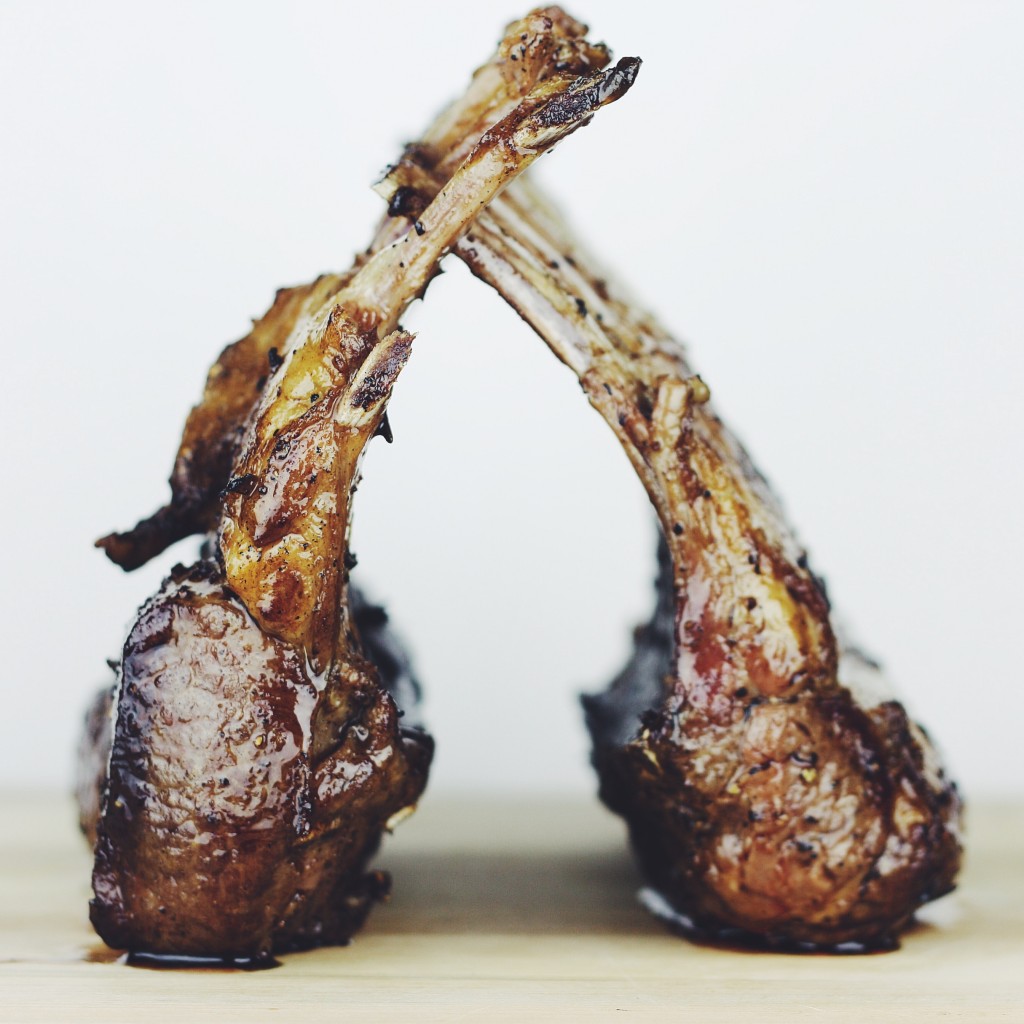
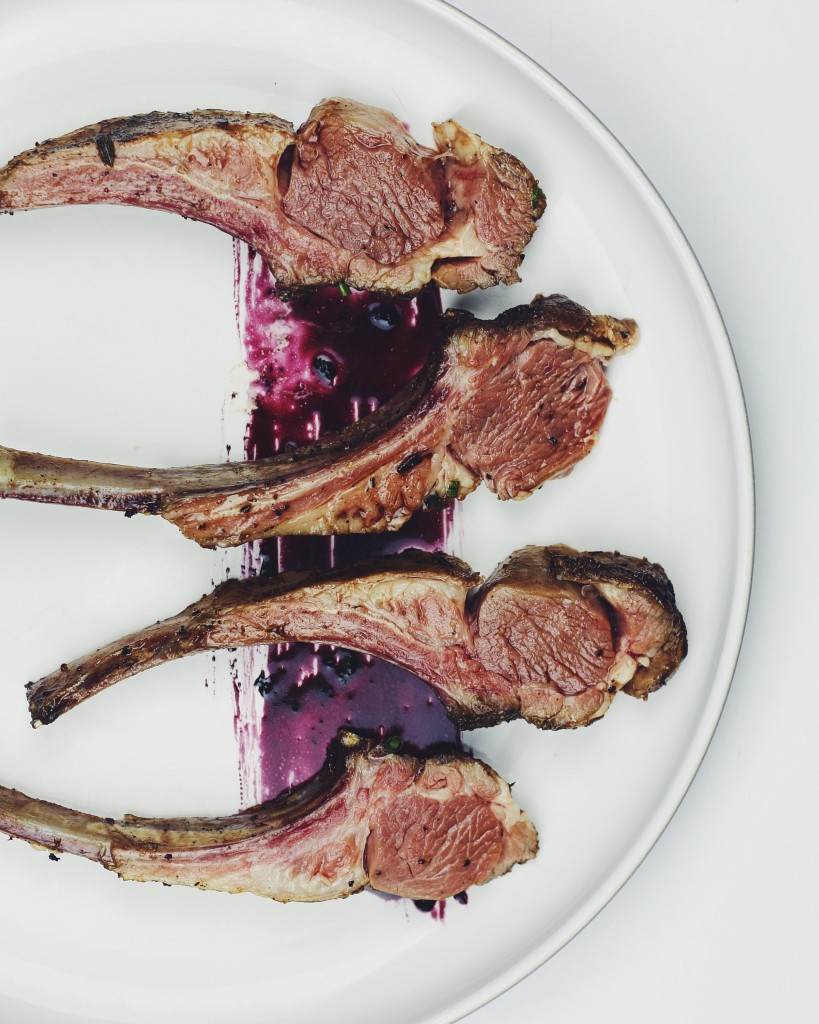
I like rack of lamb as an appetizer where everyone gets 2-3 ribs, but you easily make this a main course or smaller snack depending on how you want to serve it. I also like to serve it with a red wine reduction, mint chimichurri, or mint yogurt sauce.
Sous Vide Rack of Lamb
Ingredients
- Frenched rack of lamb
- 3-4 cloves of garlic
- 4-5 sprigs of rosemary
- Unsalted butter, for searing
- Kosher salt
- Fresh cracked pepper
Method
Start by filling a large pot or cooking safe container with water and attaching your immersion circulator. Set it to 131°F for medium rare. Pat the racks of lamb dry with paper towel and place them into large freezer safe Ziplock bags and seal using the water displacement method. Alternatively, seal them using a vacuum sealer with food safe bags.
Once the water is at temperature, place the sealed lamb into the water bath ensuring it is fully submerged. Cover the cooking vessel with foil or saran wrap and allow it to cook for about 6 hours. After the elapsed time, carefully remove the bag and place it into a large bowl of ice water for 5 minutes and then remove the lamb from the bag and pat dry with paper towel.
Pre-heat your cast iron skillet over high heat. In the meantime, liberally season all sides of the lamb with salt and pepper. When the skillet is very hot, melt in butter and then carefully place in the lamb. Add the garlic cloves and rosemary to the melted butter as well to baste the lamb as it sears. Sear each side of the lamb for about 1 minute until deeply browned and nicely charred.
Slice the lamb into individual ribs by cutting between each bone to expose the perfectly cooked interior.